SSO to IOMETE with OneLogin
This guide explains how to use OneLogin with SAML 2.0 to authenticate users in the IOMETE account console. Follow the steps below to integrate OneLogin for Single Sign-On (SSO) with IOMETE.
OneLogin SSO Configuration Steps
1. Retrieve the IOMETE Redirect URL
- In the IOMETE console, navigate to Settings > Single Sign-On under IAM.
- Select SAML 2.0.
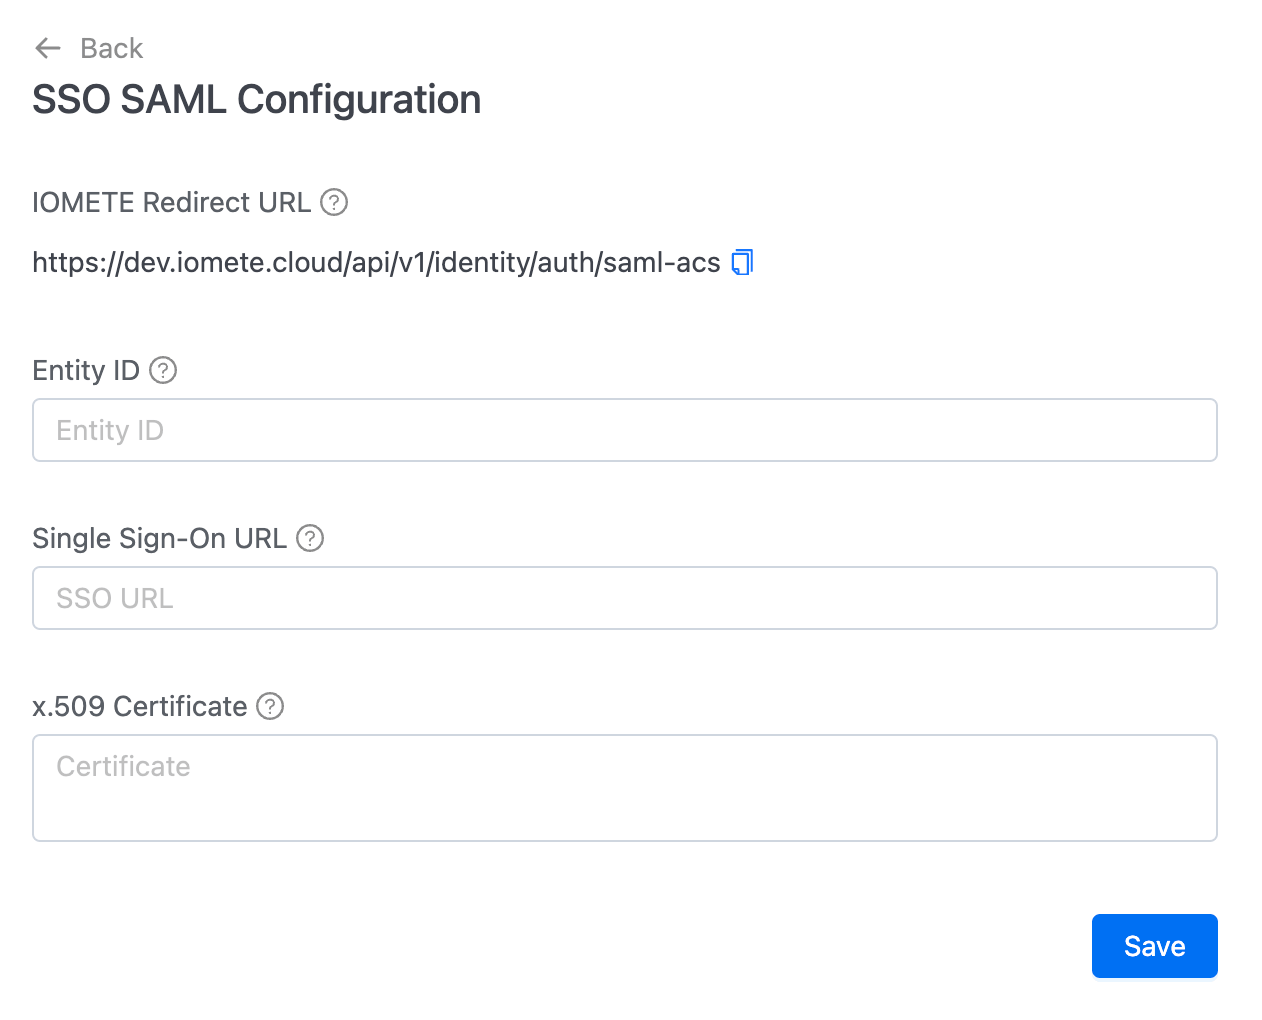
- Copy the IOMETE Redirect URL displayed on the SAML configuration page. You will need this when setting up your application in OneLogin.


2. Create an IOMETE Application in OneLogin
- Log in to the OneLogin Admin Console.
- From the dashboard, go to Applications and click Add App.
- Search for SAML Test Connector (Advanced) and select it.
- Display Name: Enter a name for your app (e.g., IOMETE) and click Save.
- Go to the Configuration tab and set each of the following fields to the IOMETE redirect URL you copied earlier:
Single Sign-On URLAudience (Entity ID)ACS (Consumer) URL ValidatorACS (Consumer) URL
3. Configure Attribute Statements
In the Parameters tab, configure the following attributes to map user details from OneLogin to IOMETE:
| Field Name | Value |
|---|---|
username | Email |
email | Email |
firstName | First name |
lastName | Last name |
- Ensure Include in SAML assertion is checked for each parameter.
4. Obtain SAML Integration Information
After completing the setup, OneLogin will provide the following details. Copy these, as they will be required in IOMETE:
- Issuer URL (also referred to as the Entity ID).
- SAML 2.0 Endpoint (HTTP).
- X.509 Certificate.
5. Configure OneLogin in IOMETE
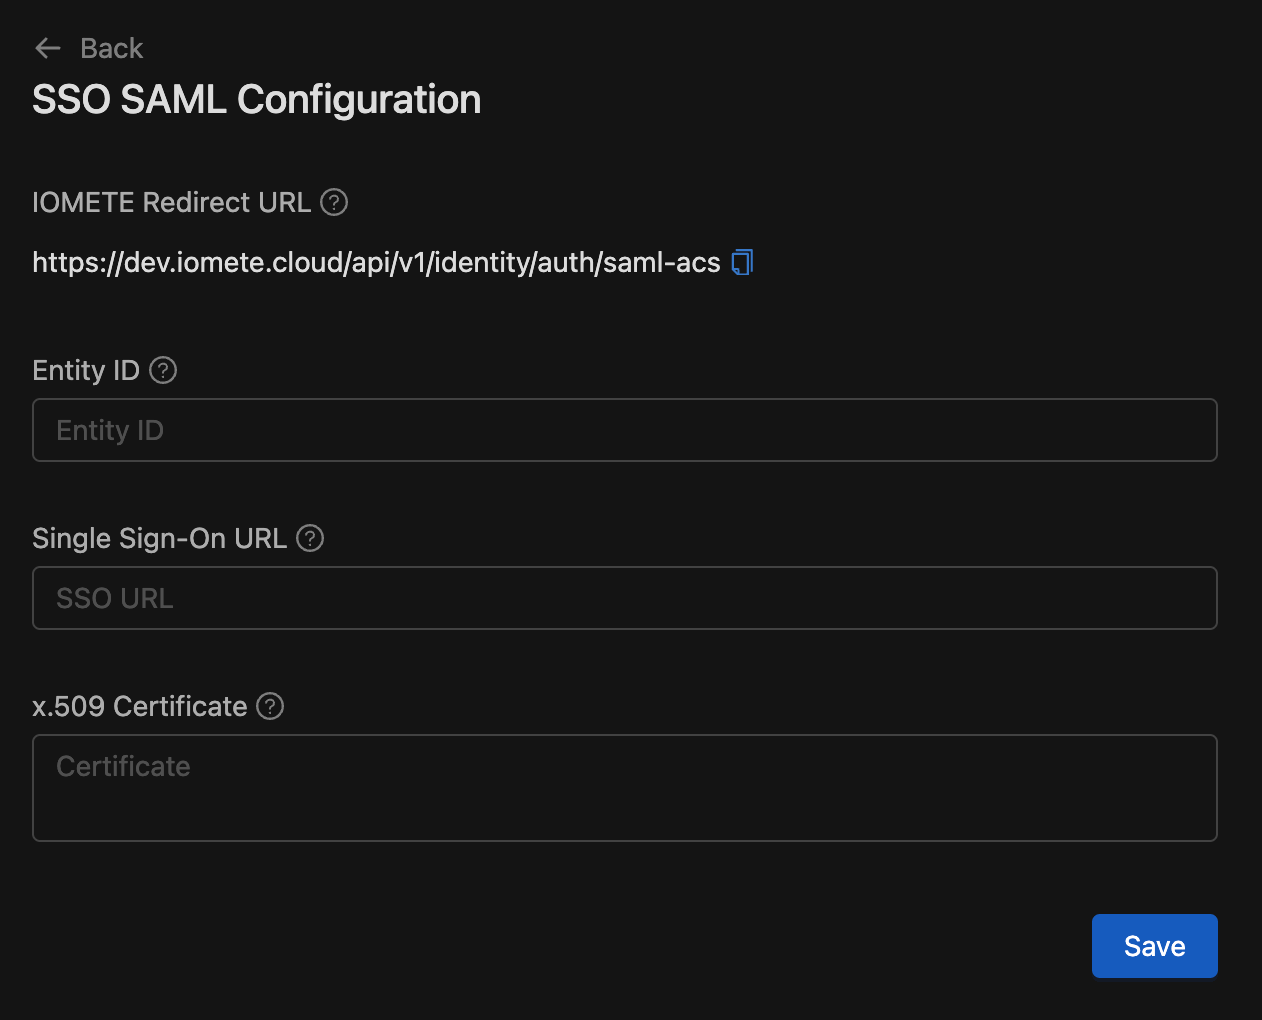
Return to the IOMETE SSO configuration page and input the information obtained from OneLogin:
- Entity ID: Paste the OneLogin
Issuer URL. - Single Sign-On URL: Paste the OneLogin
SAML 2.0 Endpoint (HTTP). - X.509 Certificate: Upload the certificate provided by OneLogin.
Click Save to store your settings, and then click Enable SAML SSO to activate Single Sign-On.
6. Assign Users to the IOMETE Application in OneLogin
After configuring SAML SSO, ensure users have access to the IOMETE app in OneLogin:
- In the OneLogin Admin Console, go to Users > User Assignments.
- Assign users or groups who should have access to IOMETE.
Conclusion
After successfully configuring OneLogin SSO with IOMETE, you can test the integration. Try logging out of the IOMETE page, and you should see the OneLogin login page!