Dataiku
This guide walks you through connecting Dataiku to IOMETE using the Arrow Flight SQL JDBC driver.
Prerequisites
- A running IOMETE cluster with an active compute resource
- Access to the Dataiku Administration panel
- Your IOMETE username and personal access token
Download the JDBC Driver
Download the IOMETE custom build from the iomete-artifacts GitHub repository, where files follow the naming convention flight-sql-jdbc-driver-<upstream>-iomete.<release>.jar.
See the Arrow Flight SQL JDBC Driver guide for proxy configuration, JDBC URL parameters, and details on the standard upstream driver alternative.
Save the JAR file to a directory accessible by your Dataiku instance.
Configure the Connection in Dataiku
Step 1: Open the Administration Panel
Navigate to the Administration section from the Dataiku home screen.
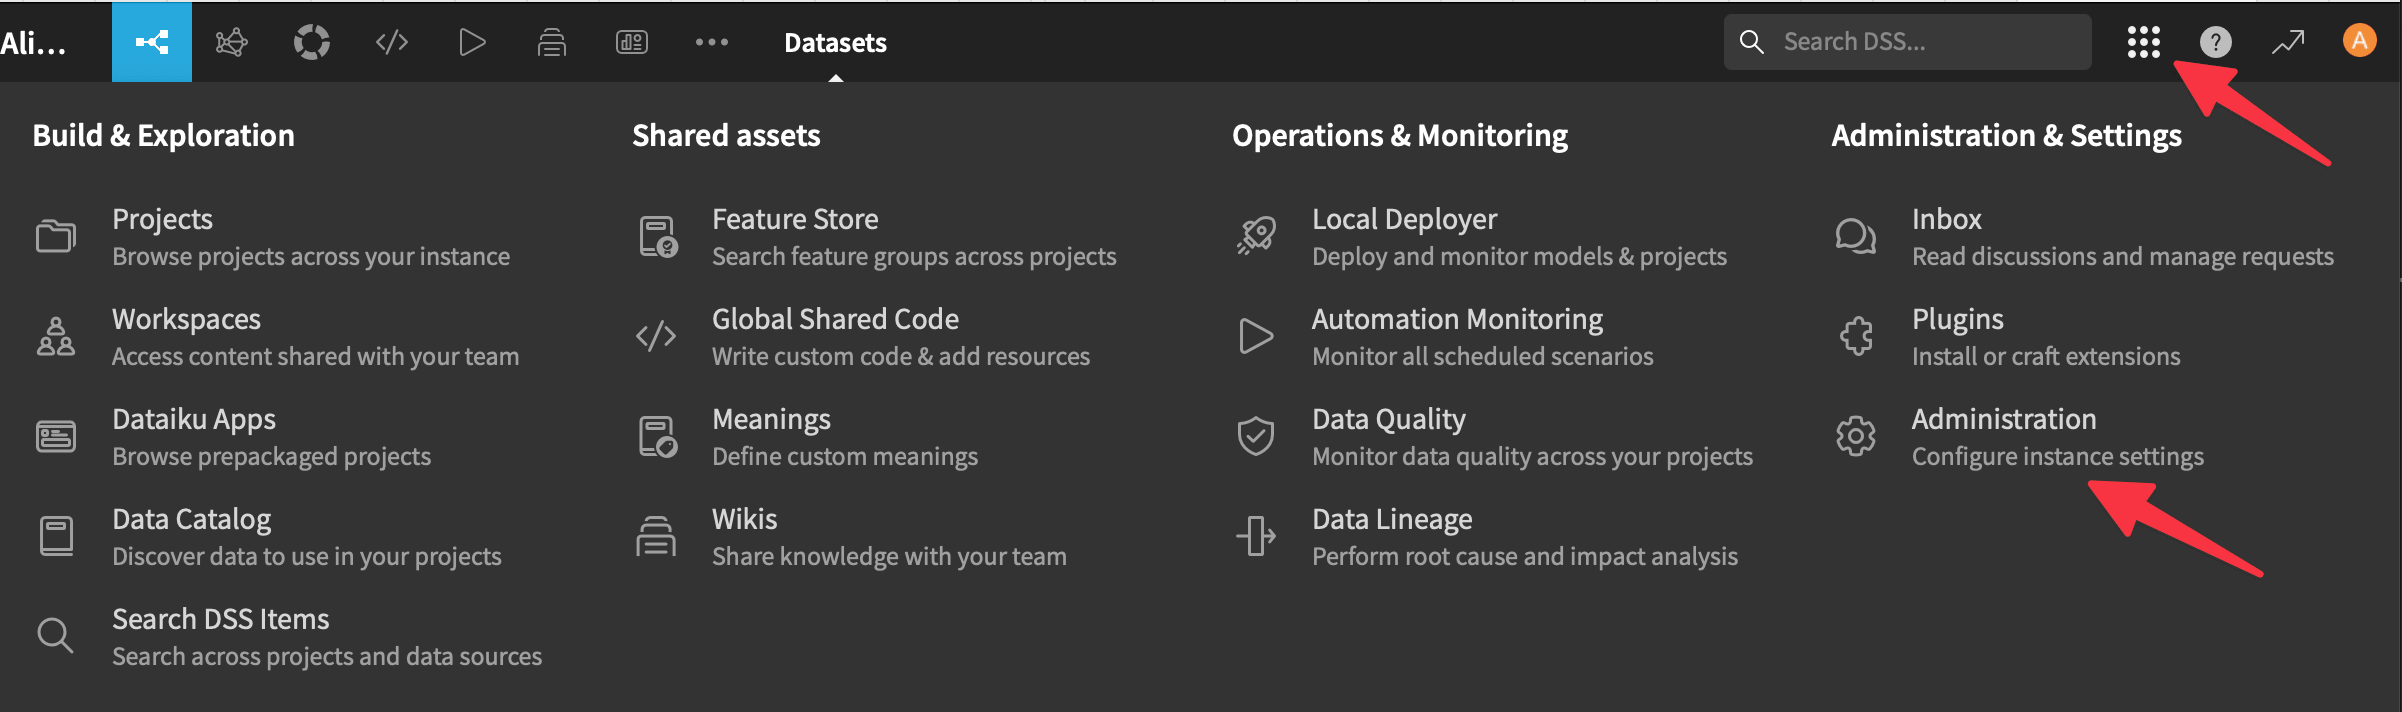
Step 2: Access Connections
Select Connections from the left-hand menu.

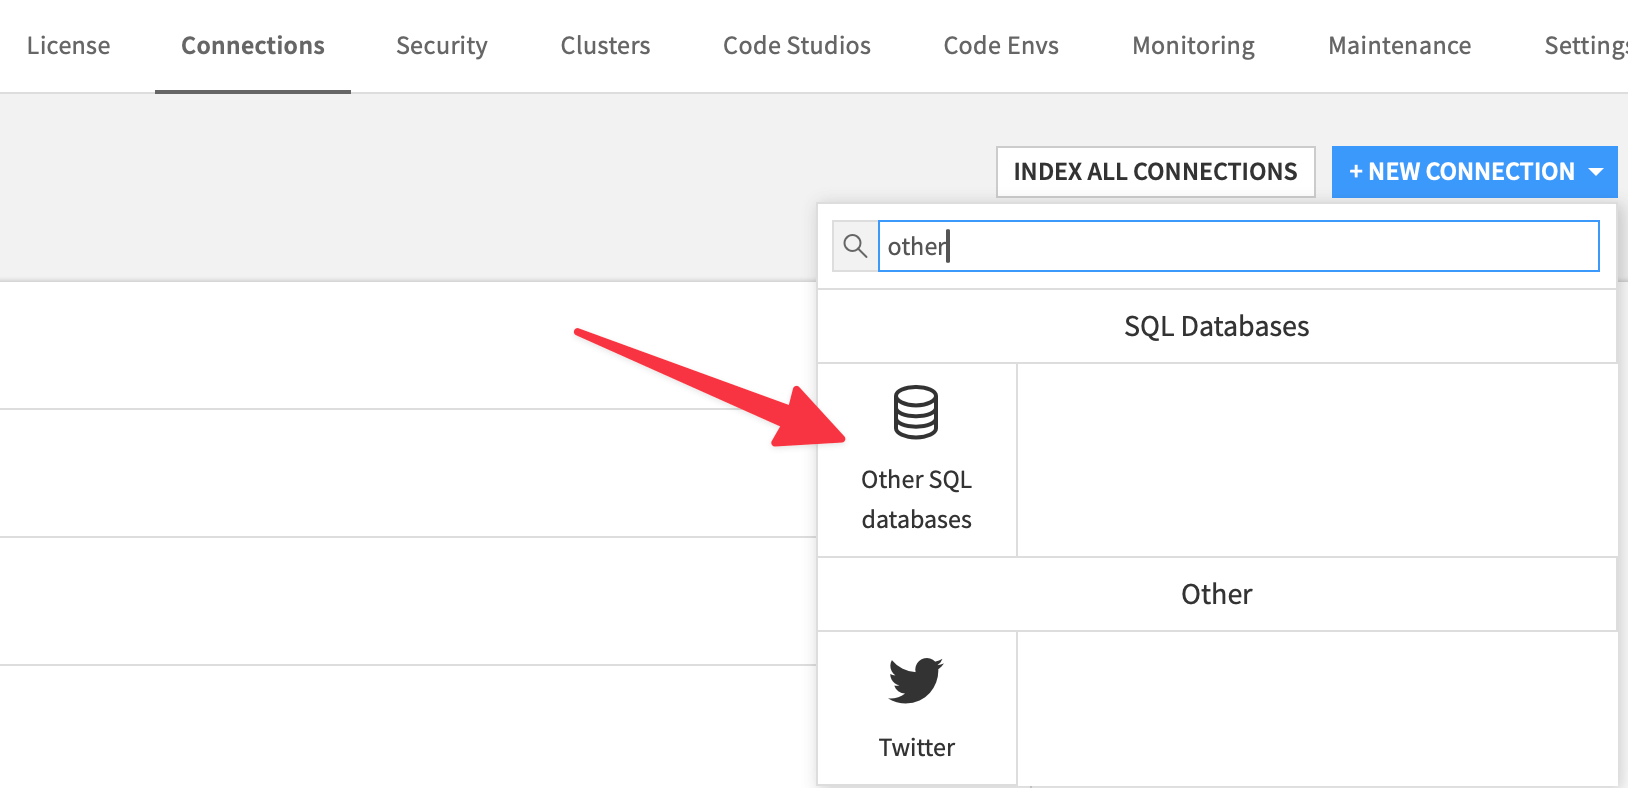
Step 3: Create a New SQL Connection
Search for Other and select Other SQL databases.
Step 4: Configure the Connection
You will see the connection setup form:
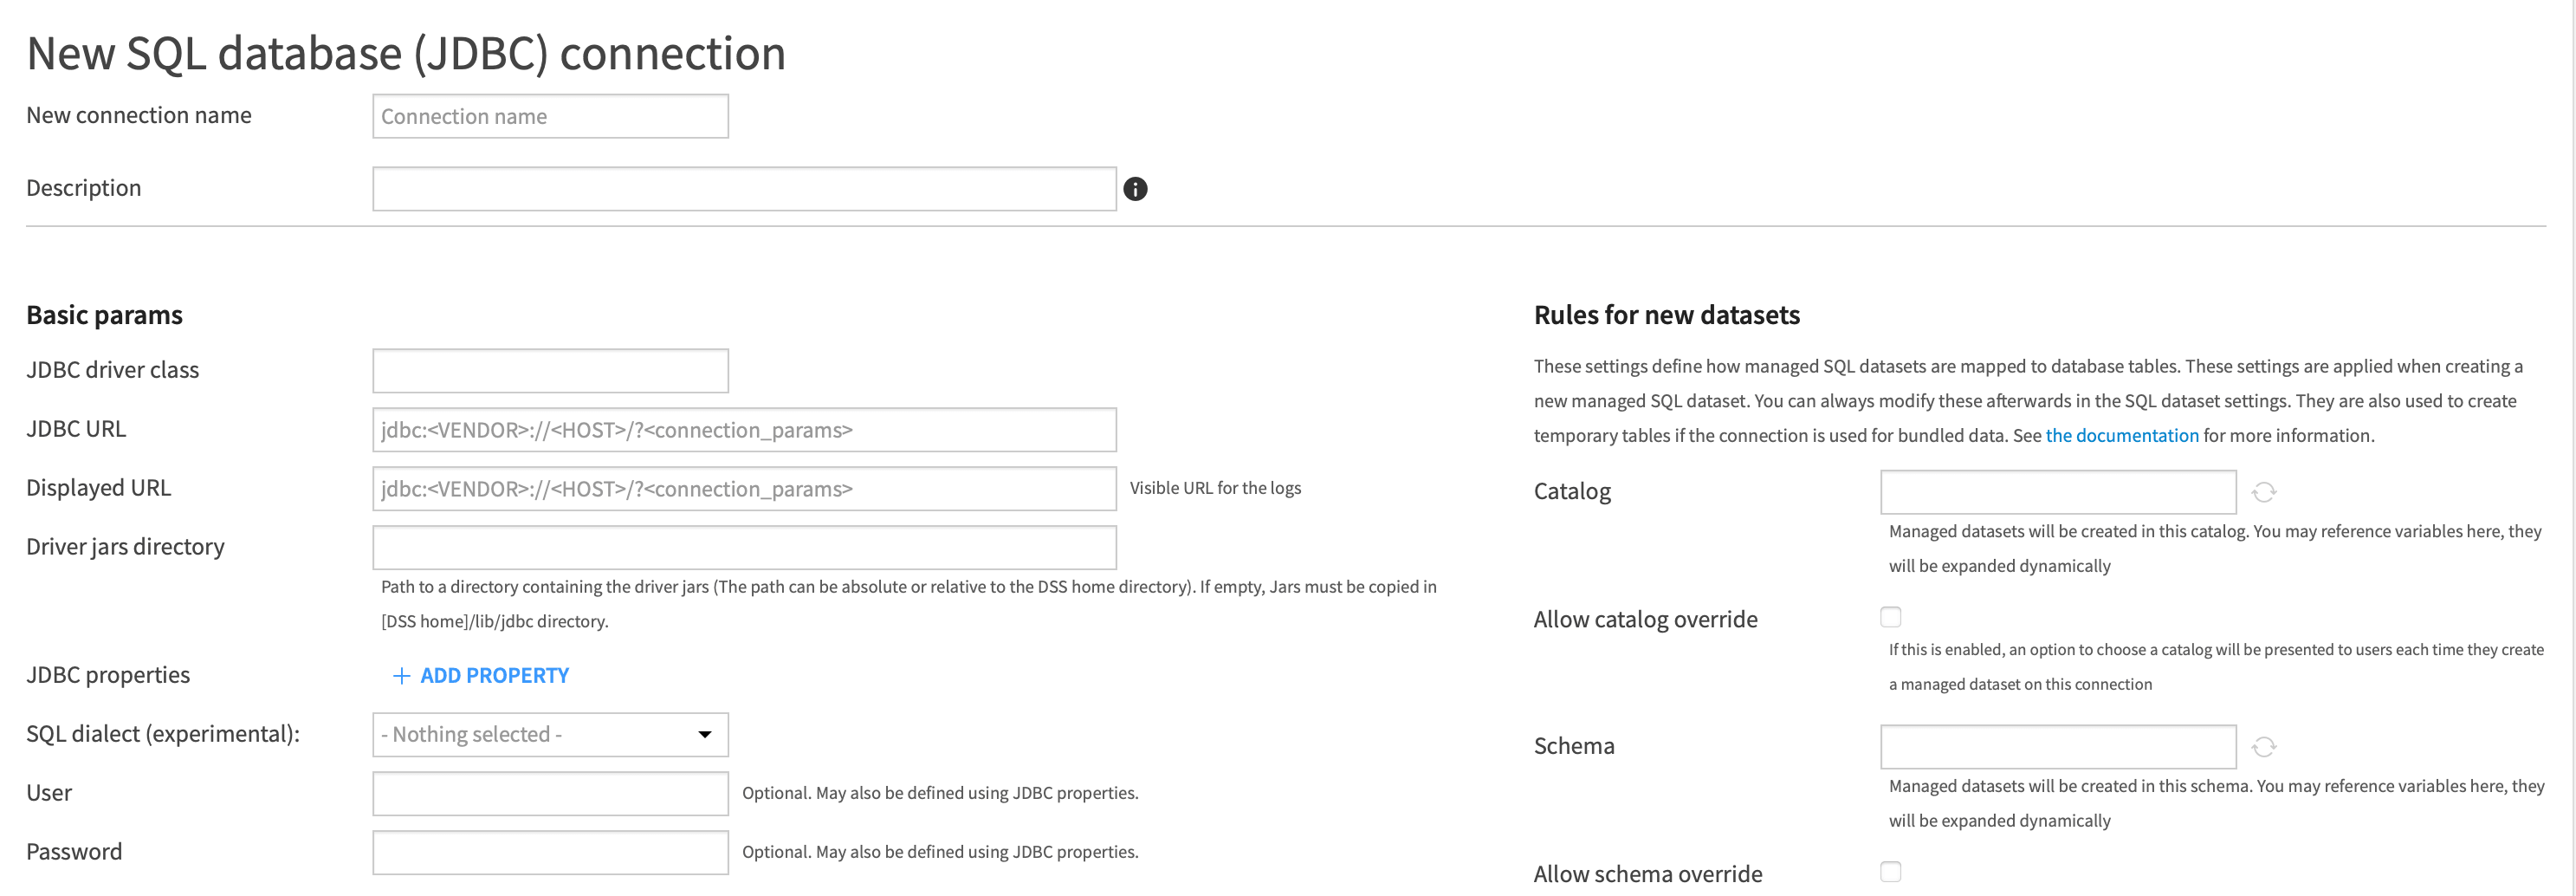
Fill in the following settings:
| Field | Value |
|---|---|
| JDBC driver class | org.apache.arrow.driver.jdbc.ArrowFlightJdbcDriver |
| JDBC URL | Your IOMETE compute JDBC connection string (remove any embedded username/password) |
| Driver jars directory | Path to the directory containing the downloaded JAR file |
| SQL dialect | SparkSQL (via JDBC) |
| User | Your IOMETE username |
| Password | Your IOMETE personal access token |
| Can browse catalogs | ✓ Enabled |
You can find the JDBC connection string in the IOMETE console under your compute resource's connection details. Make sure to remove any user and password parameters from the URL, as these are configured separately.
Verify the Connection
After saving your configuration, use Dataiku's Test button to verify the connection. Once successful, you can start creating datasets and running queries against your IOMETE lakehouse.