Git Integration
Starting from version 3.1.0 of the IOMETE platform, we now support Git integration, with GitLab as our initial Git provider. The initial support focuses on hosting SQL worksheets in Git repositories that can be accessed through the SQL editor tab within the platform. This document outlines the process for setting up the integration and accessing SQL files hosted on Git.
Registering a Git Repo
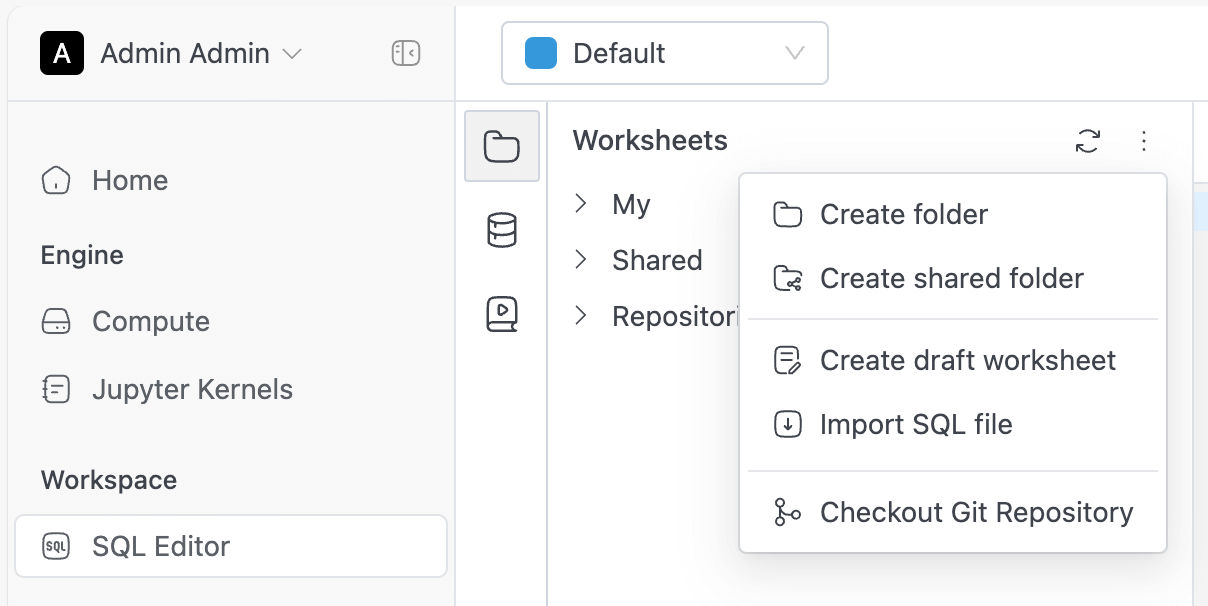
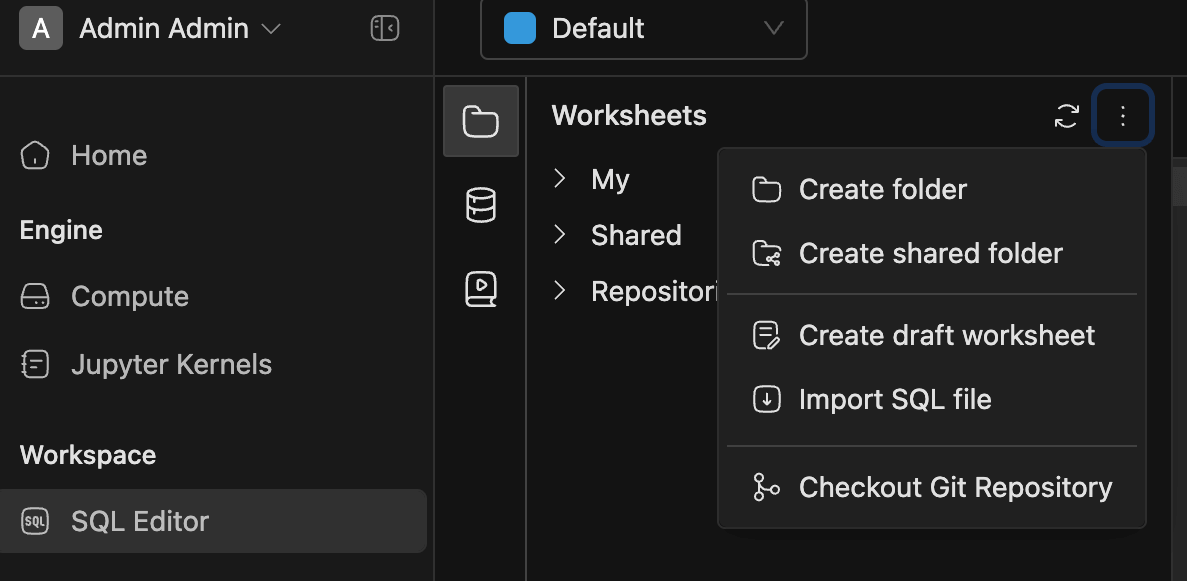
To integrate a repository within the platform, first register it through the Git Integration tab or by using the "Checkout Git Repo" button directly from the SQL editor.
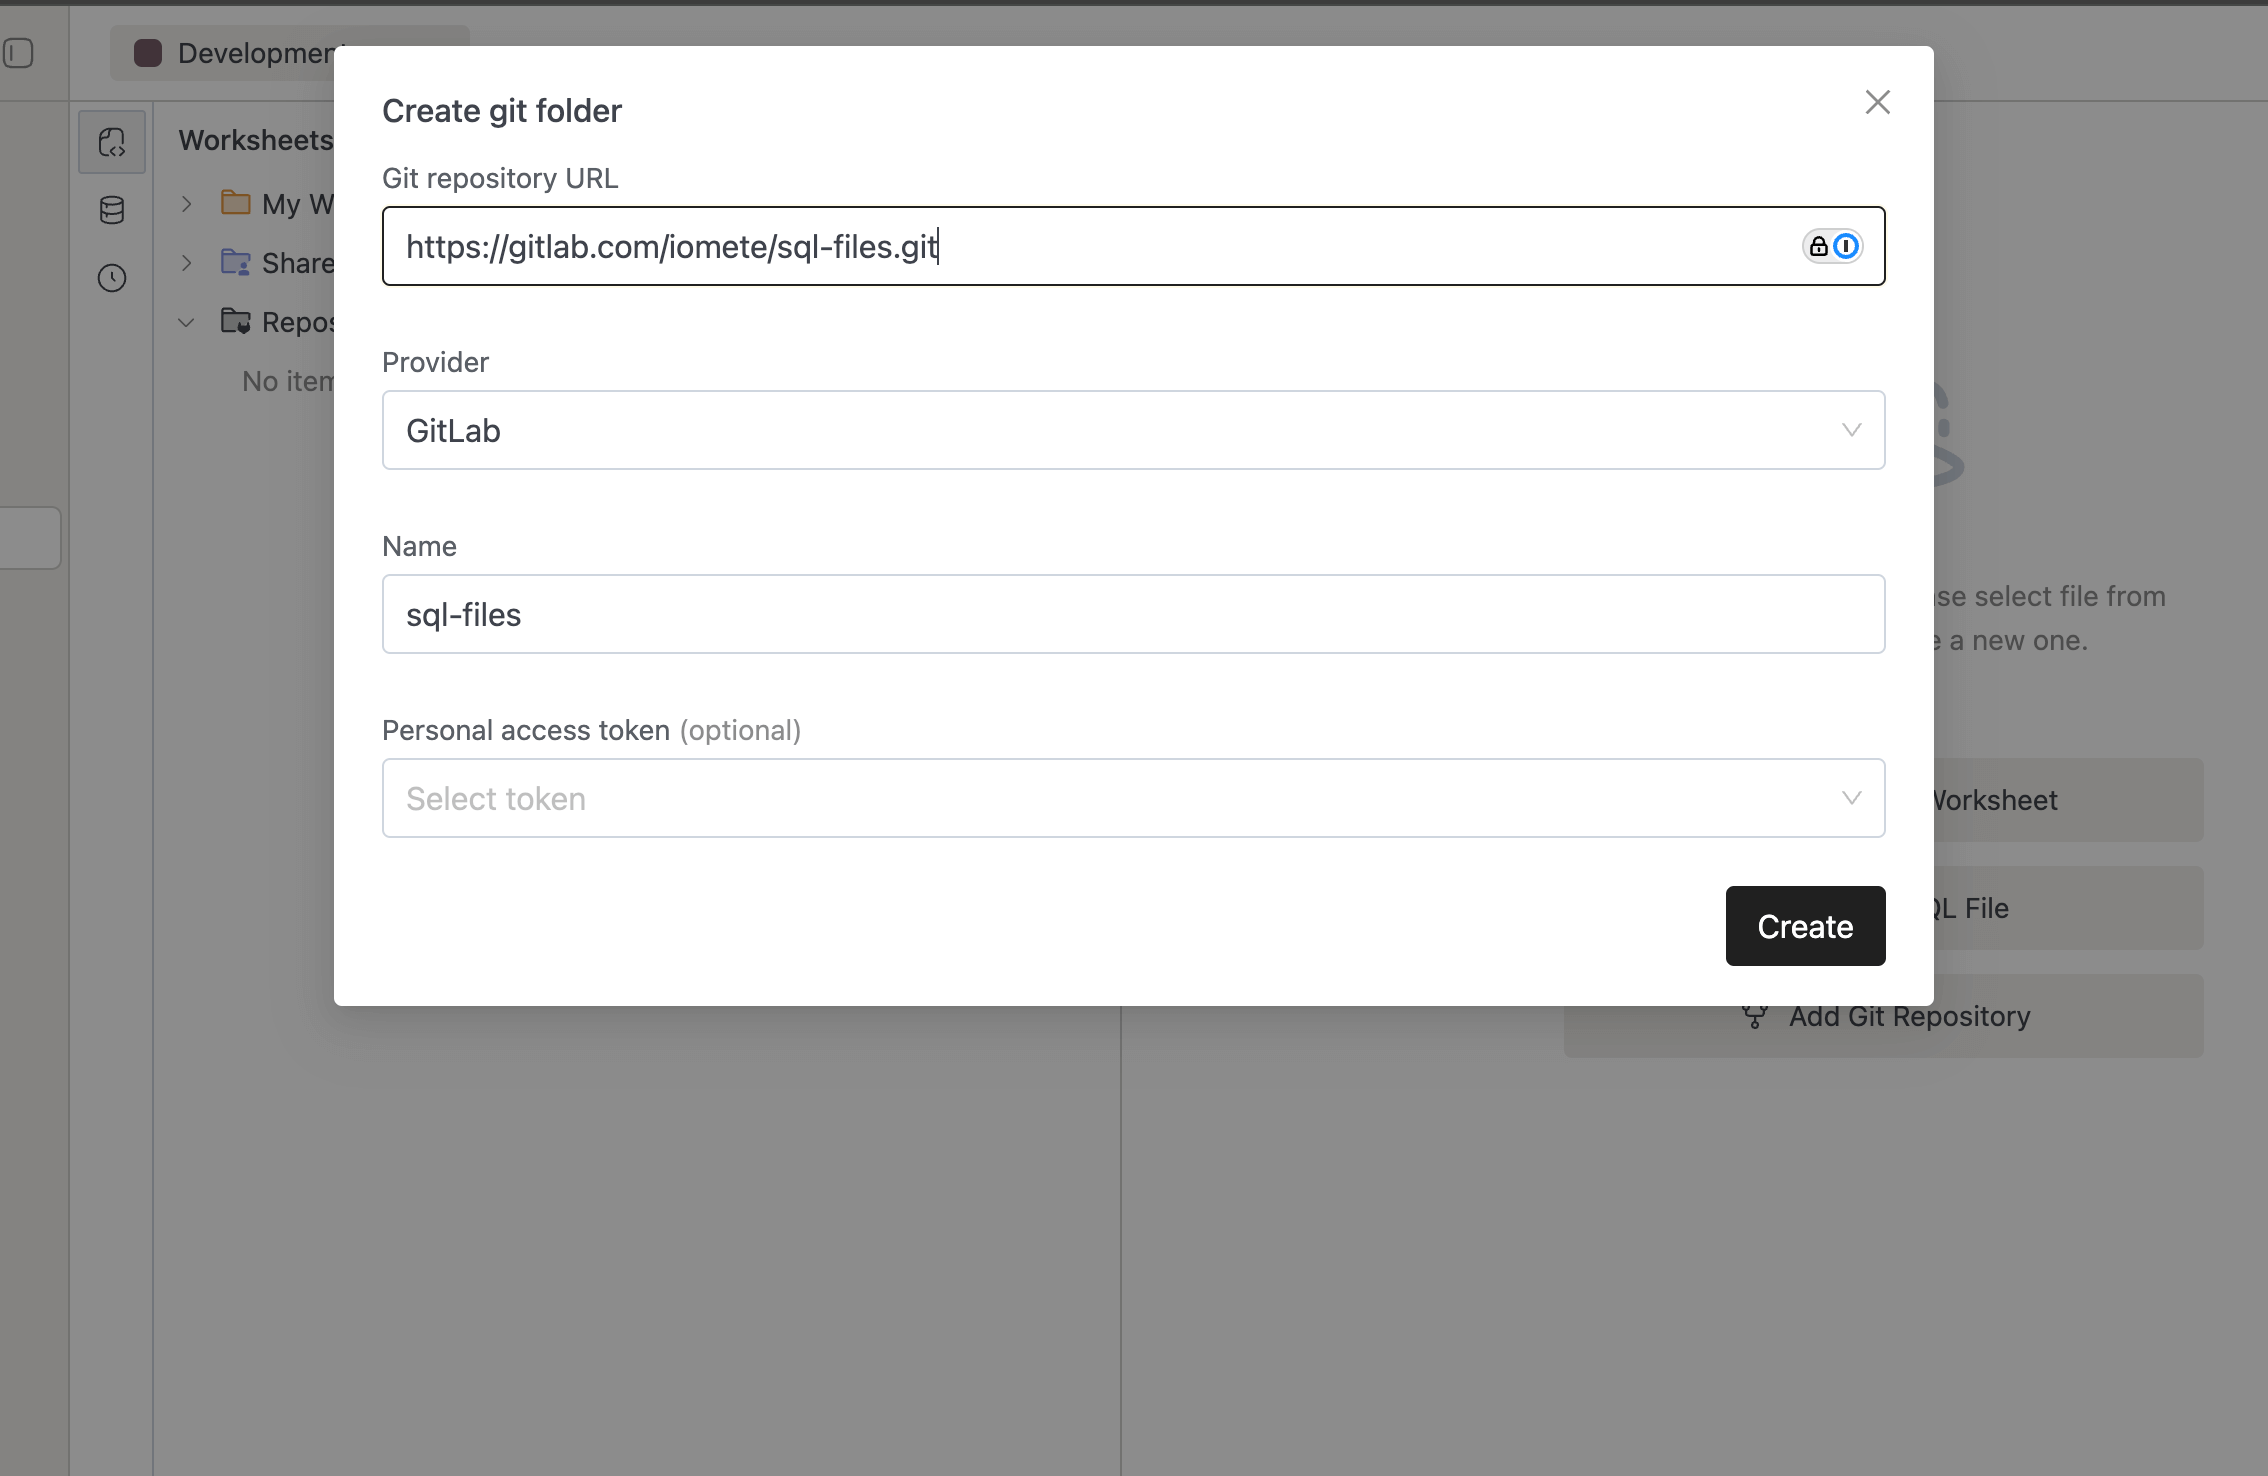
We can now fill in the details requested.
Git Repository URL: The URL of the repository for the current configuration. eg. https://gitlab.com/namespace/project.git
Name: The name that you want to be used in, used to display the specified repository.
Provider: The Git provider in use. Currently only Gitlab is supported.

Select or create a token
Once all the repository related details are filled in, we need to provide the token via which we want to interact with git.
If you don't have a token configured already we can create a new token by clicking on the Create new button inside token drop down.
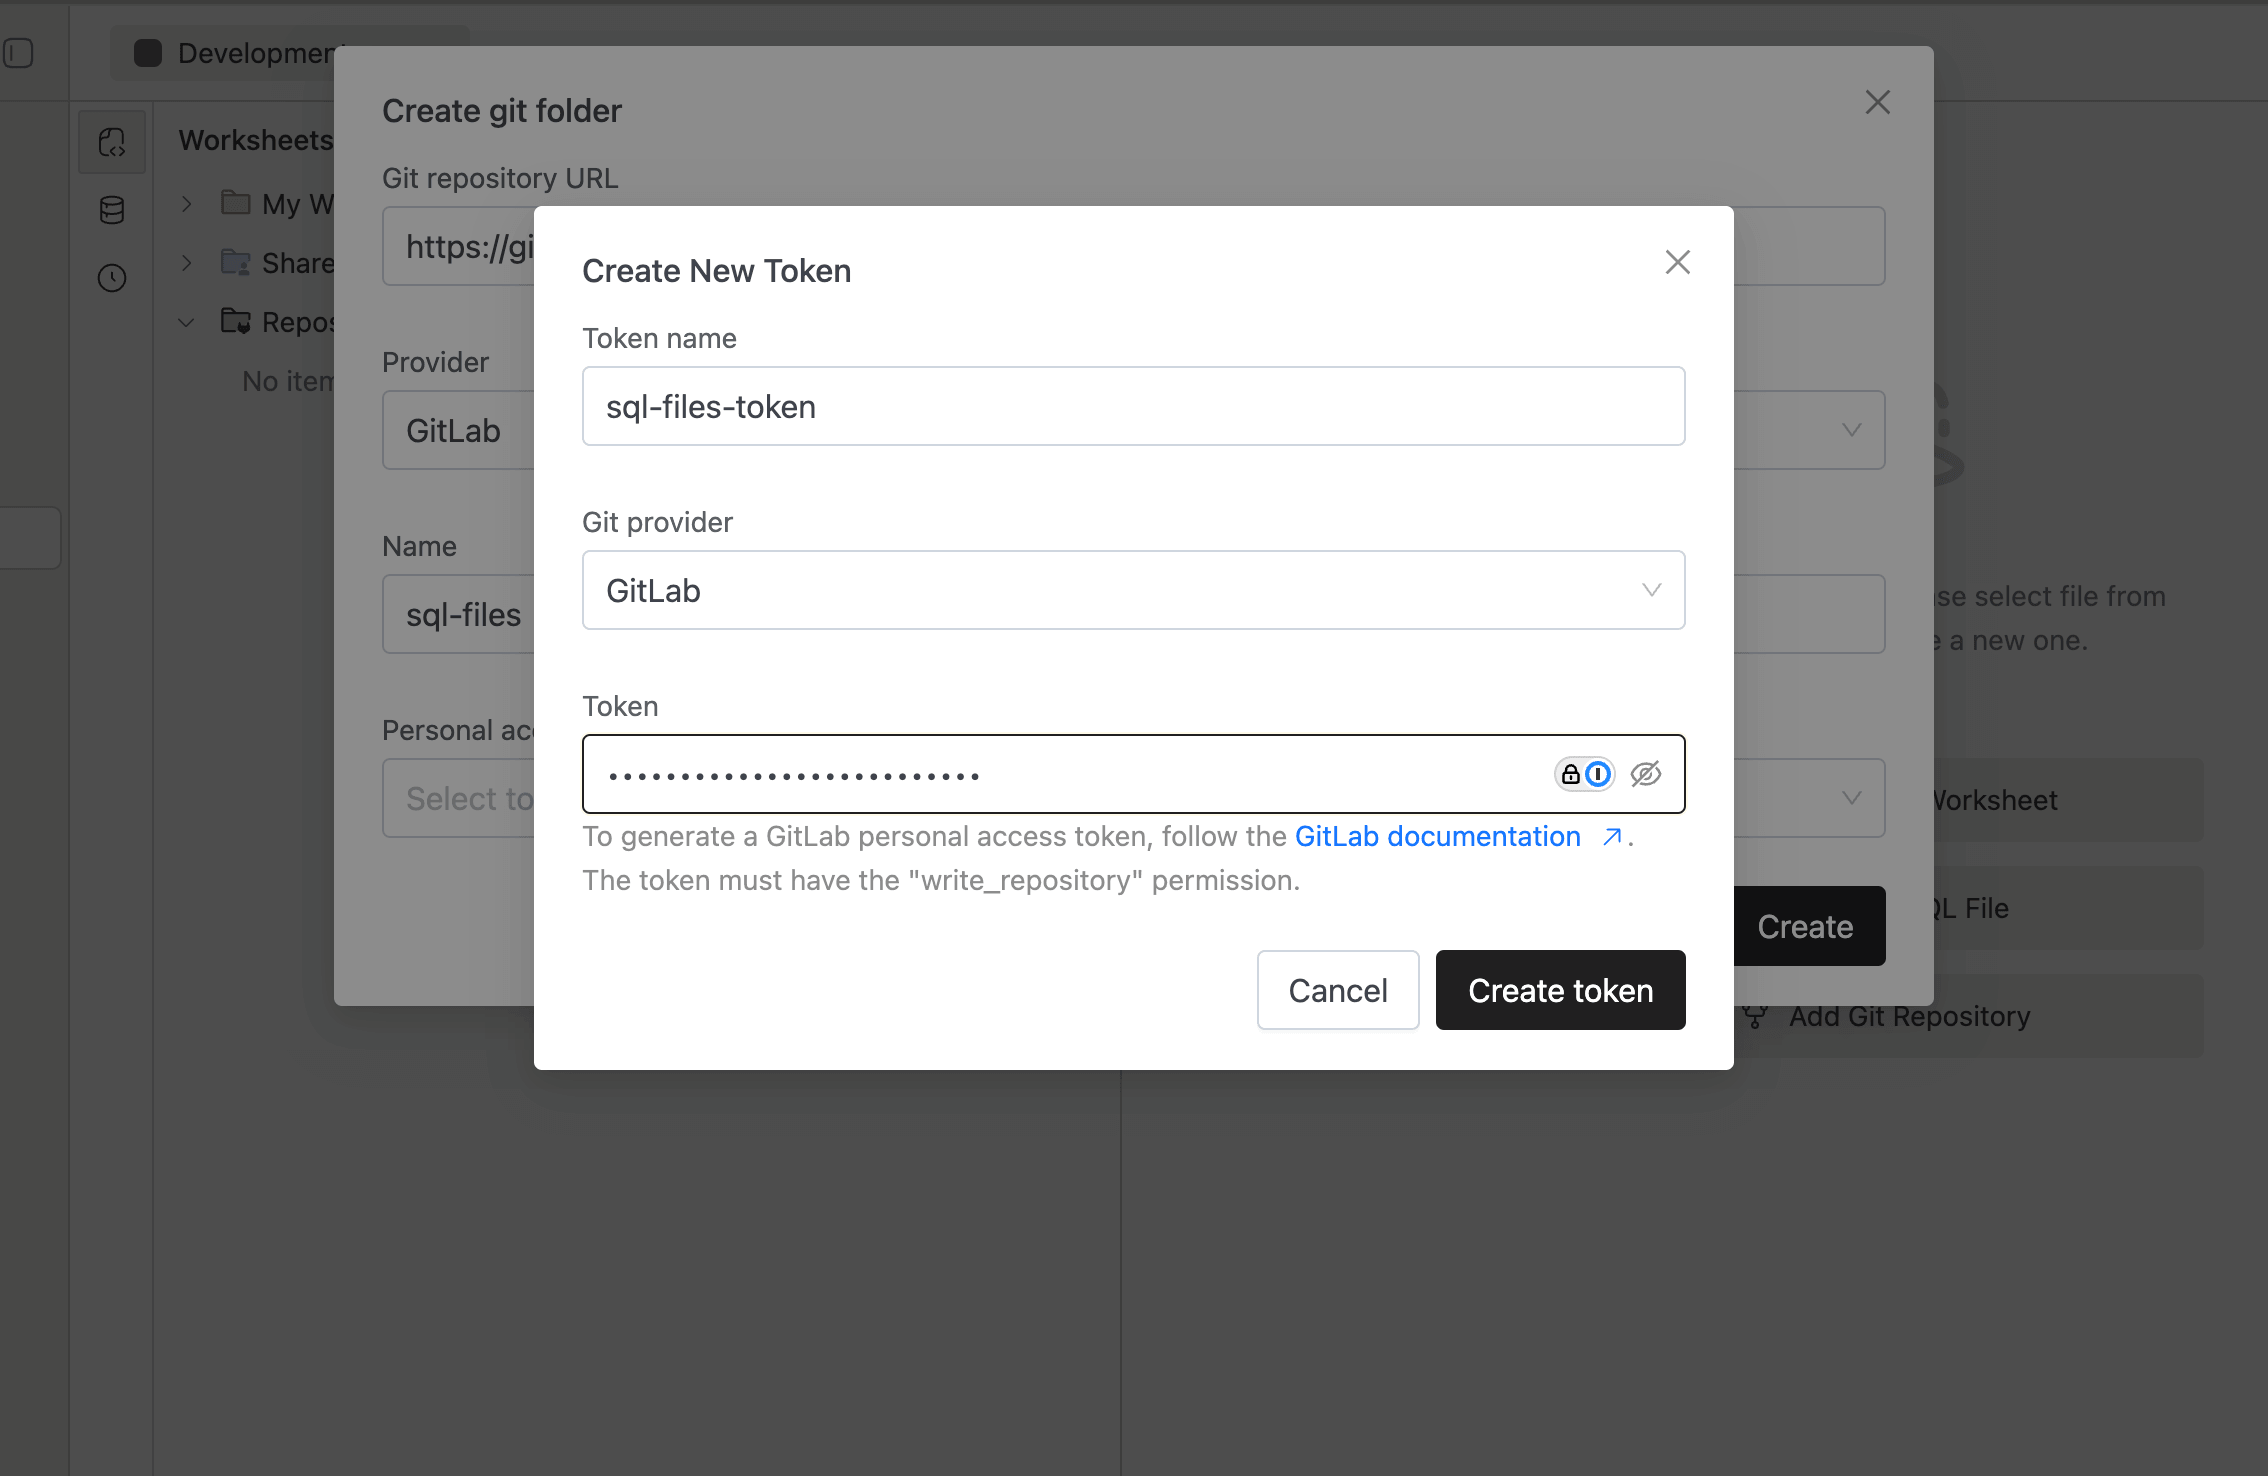
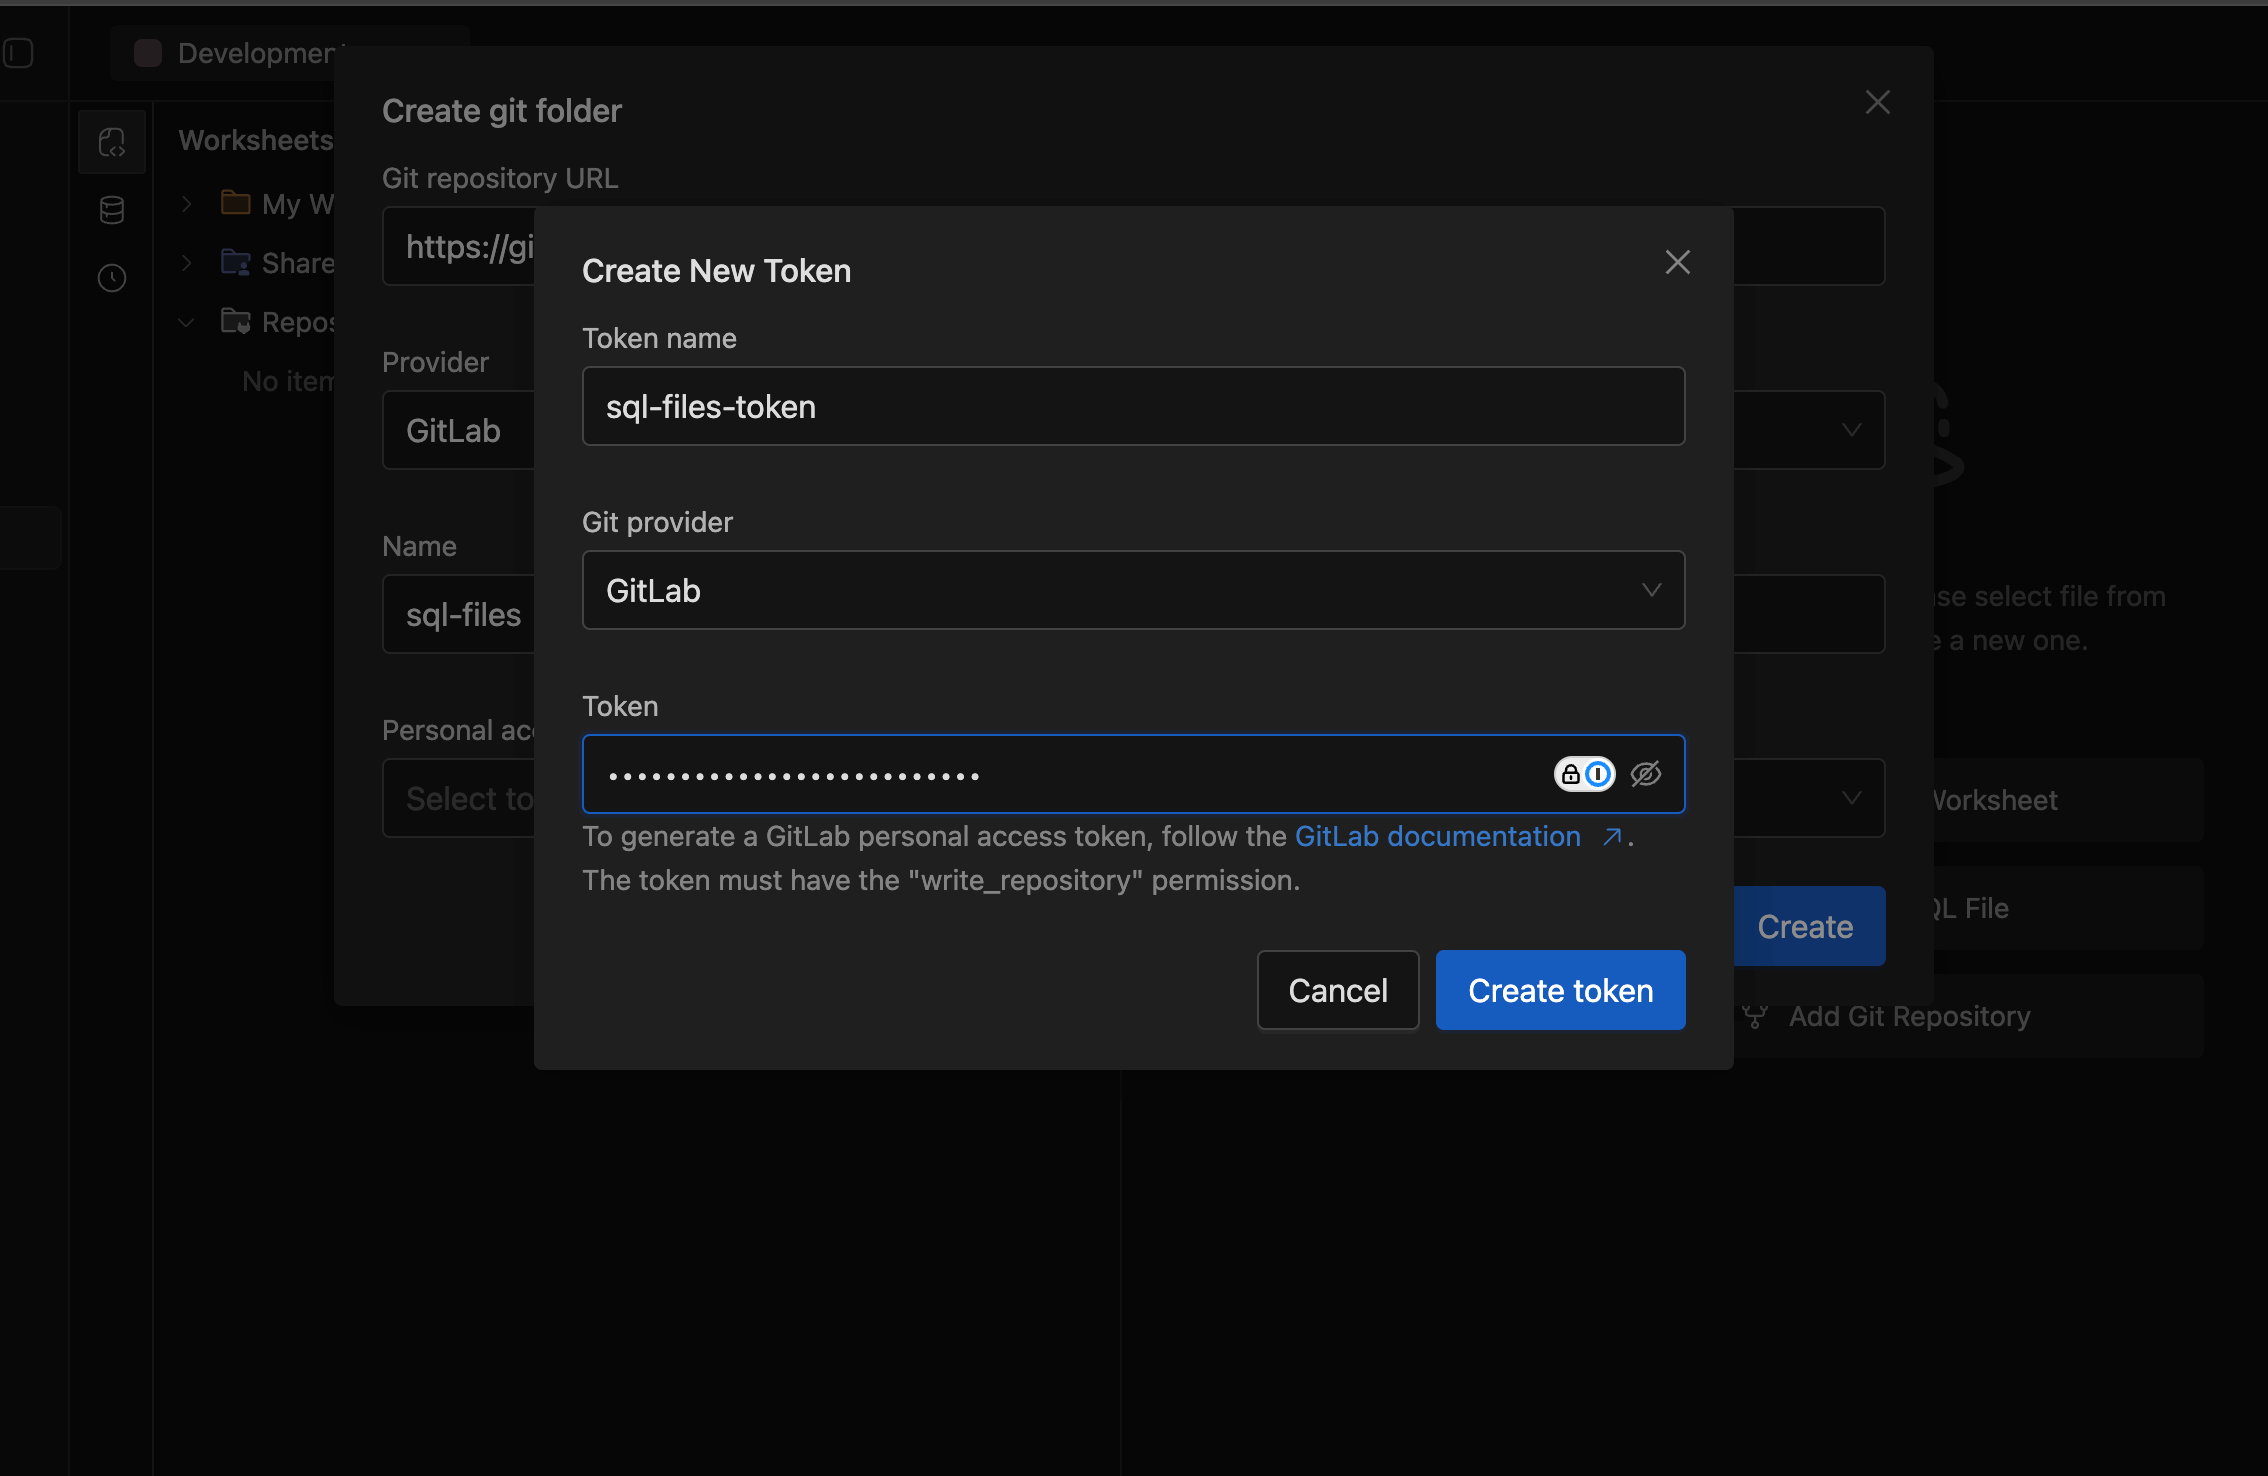
Tokens can also be managed from the Git Integration tab.
Once the token is set click on the create button to register the repository.
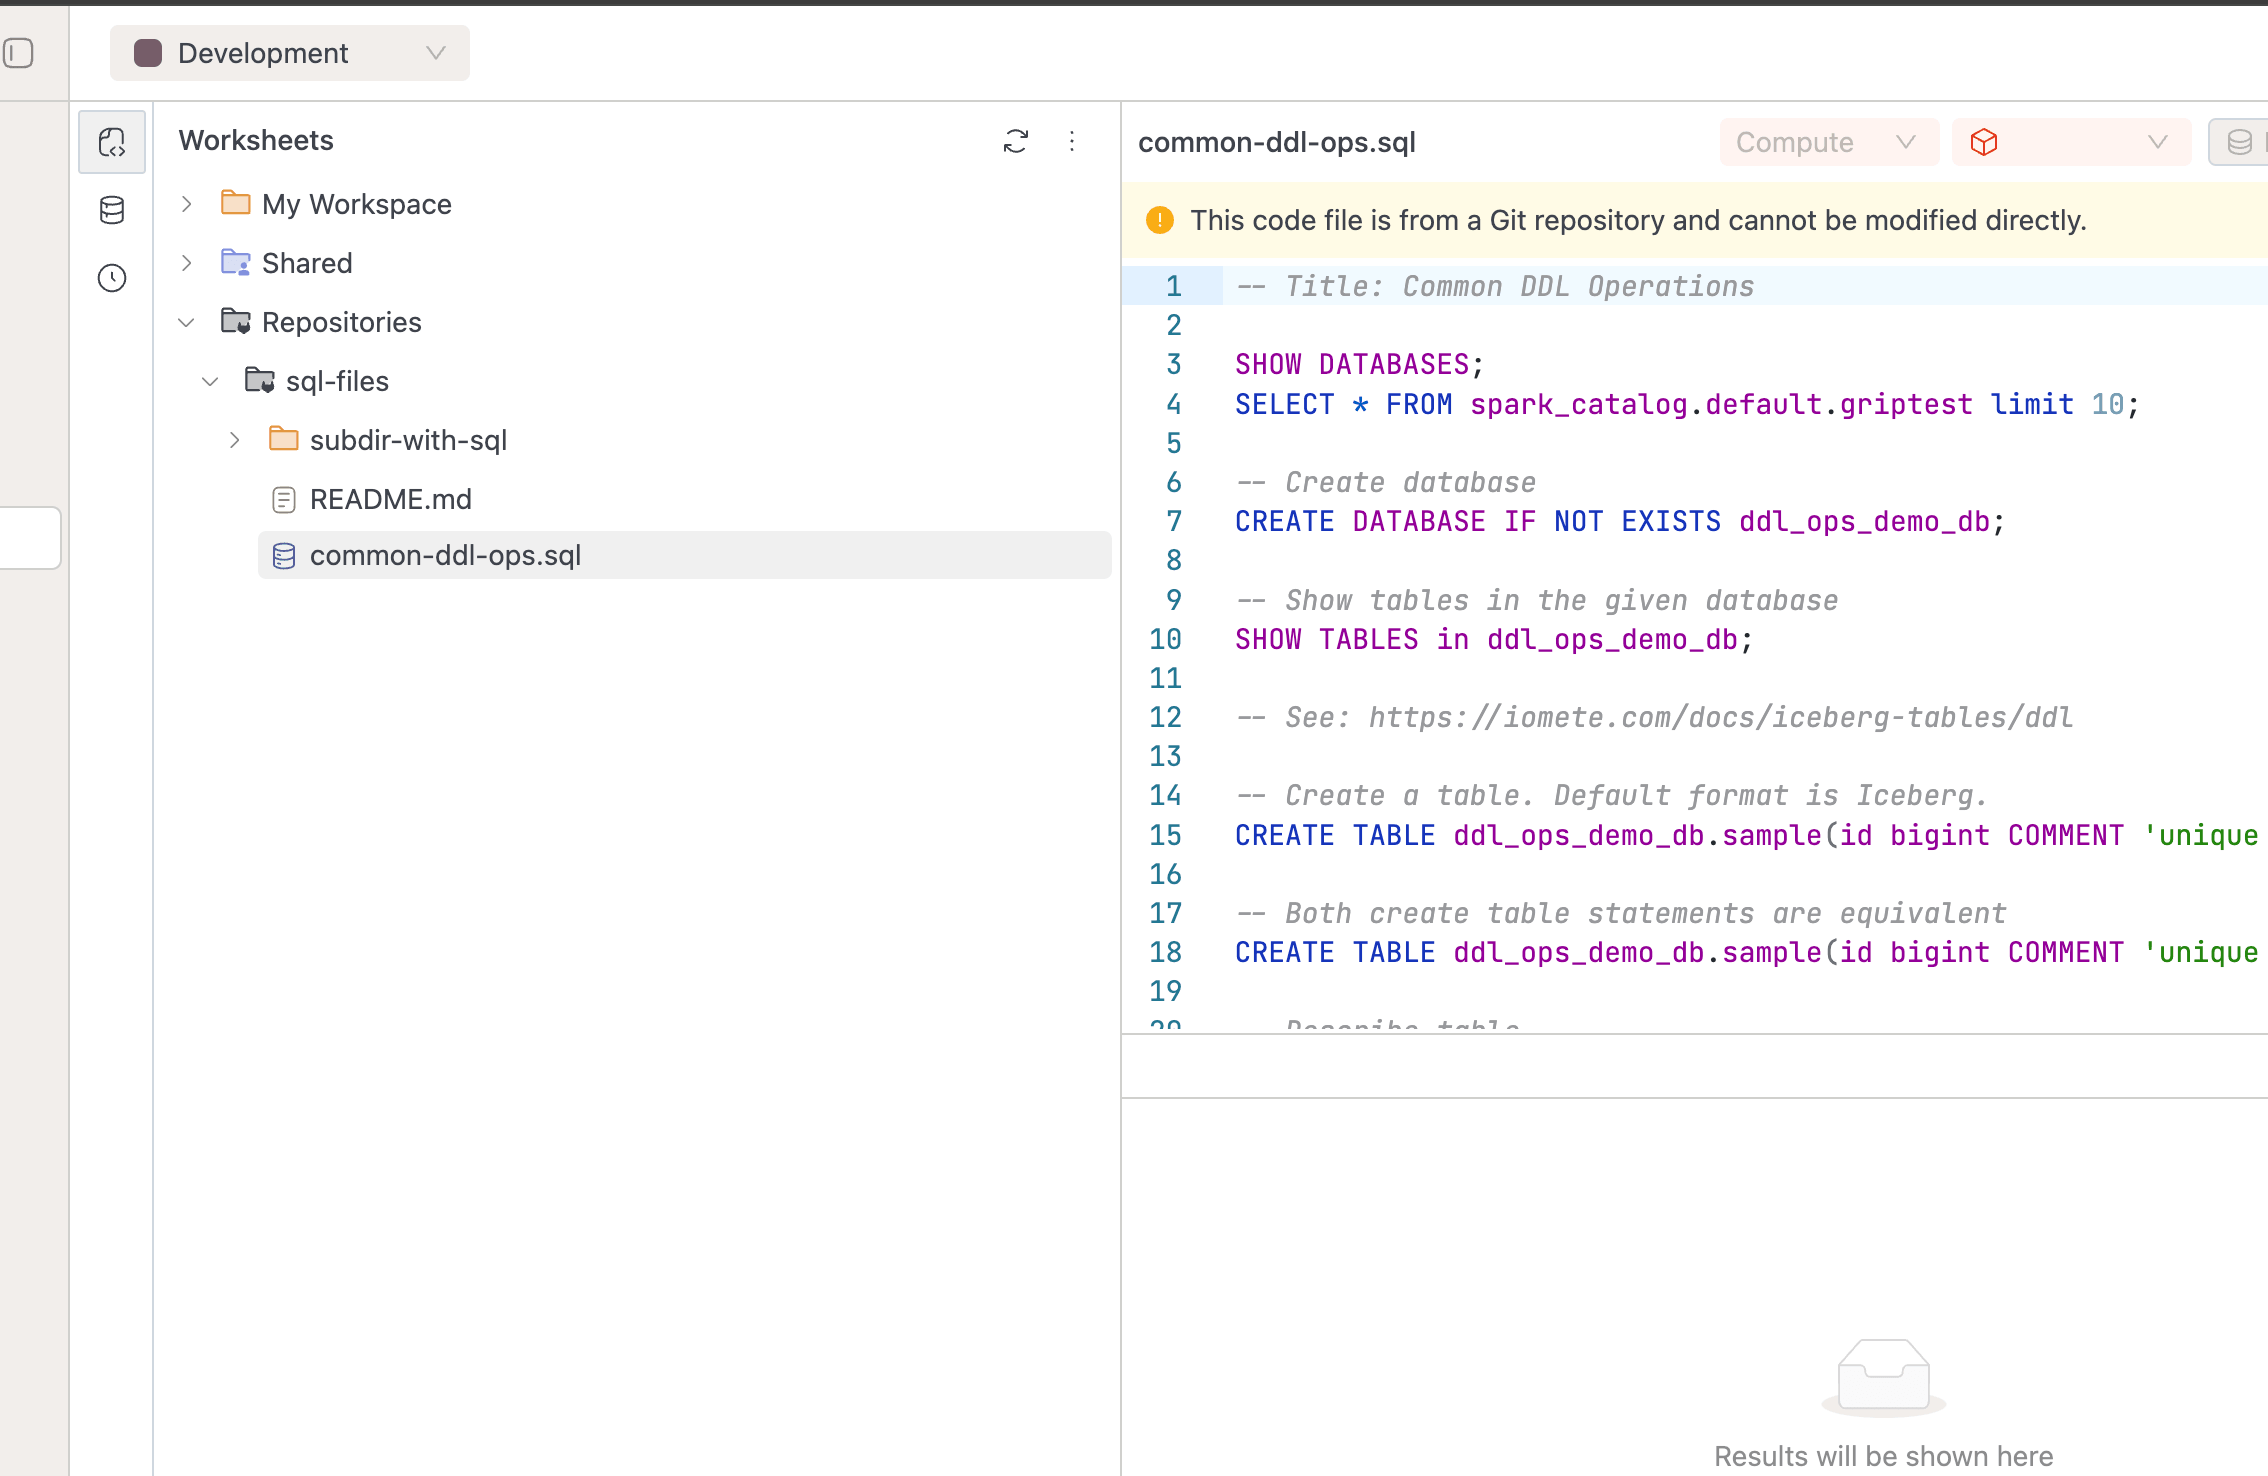
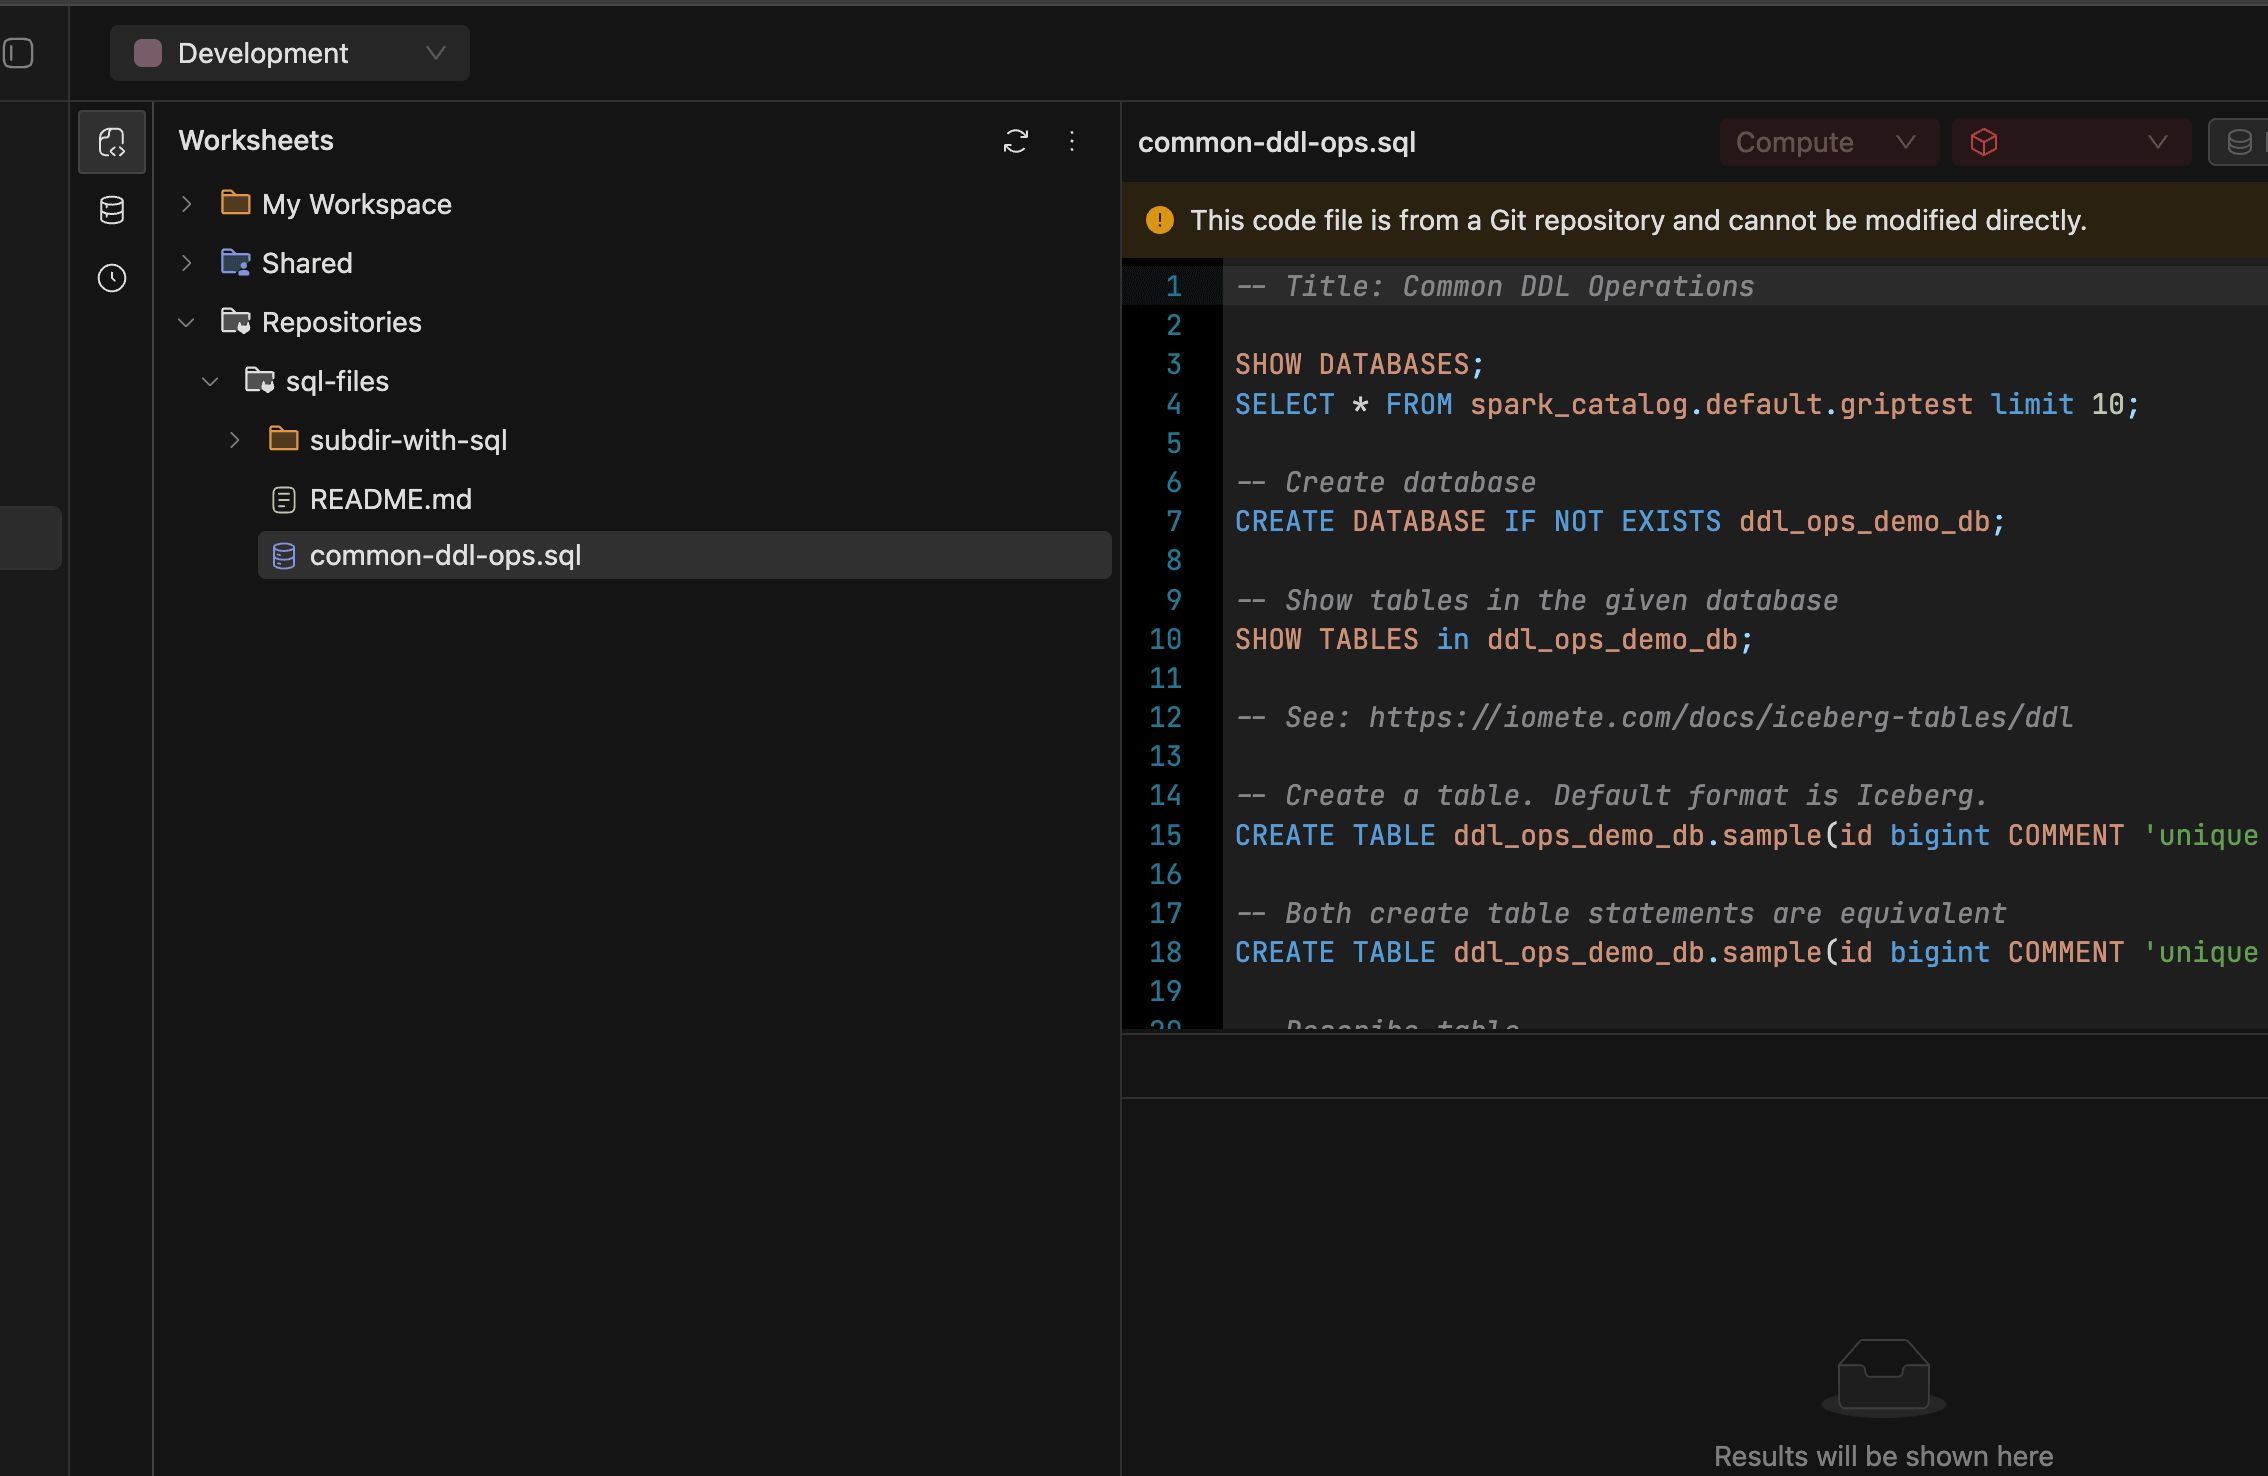
We can now see the content of the git repo and execute the Sql queries present in them.