Metabase - Connecting to IOMETE
Hi! In this guide, we will explain how to effortlessly integrate IOMETE with one of the most popular BI tools: Metabase.
What is Metabase?
As data engineers or analysts, we can understand SQL language. But other departments and teams are not. Metabase is an open-source Business Intelligence interface that allows querying no SQL required. With Metabase interactive dashboards and automated reports are available for teams. Advanced embedding capabilities make it simple to share your data in presentations, publications, and even products.
How to run Metabase Locally
We first provide basic instructions on how to set up and run Metabase locally. You can skip this step if you wish to run a Metabase instance in a production or development environment.
Let’s run Metabase on Docker.
Run this commands in your terminal:
docker pull metabase/metabase:latest

docker run -d -p 3000:3000 --name metabase metabase/metabase

# Optionally to view logs (for debug purposes)
docker logs -f metabase
Now you should be able to access http://localhost:3000
Read more in Metabase documentation
Now let’s go to the main part of this guide👇🏻
Add iomete as the data source
The next step is to connect the iomete lakehouse to Metabase.
You can also do this during the Metabase setup process or later from the Admin Settings menu.
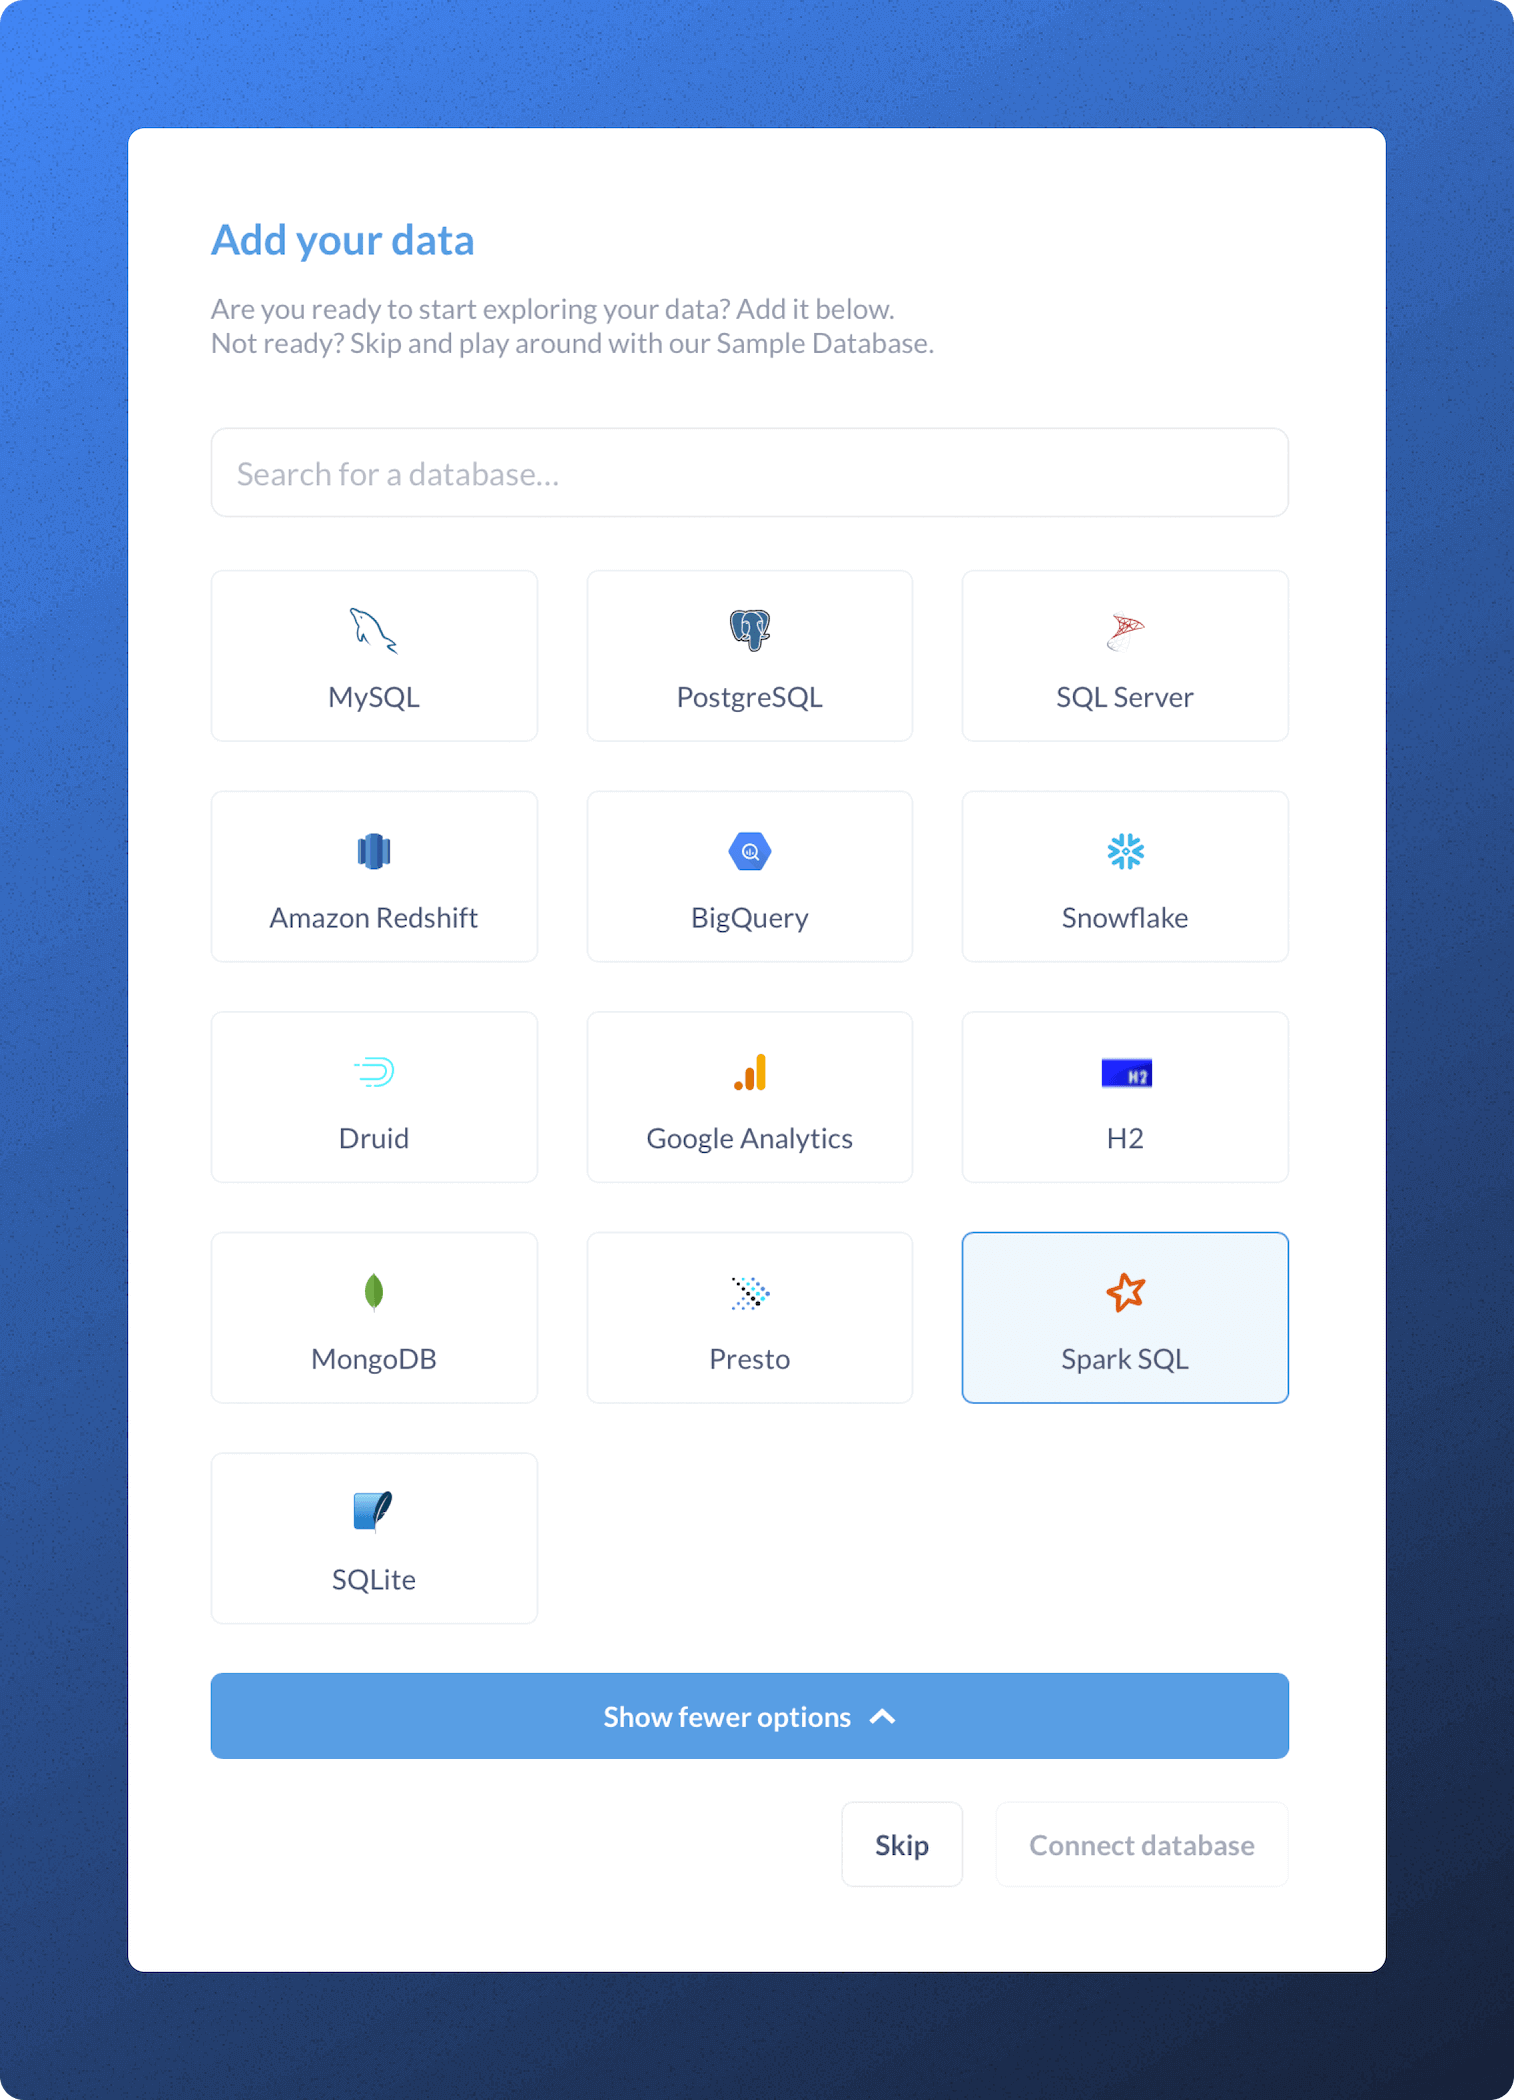
Select Spark SQL as your database:
For connection details go to the iomete app, select the lakehouse you want to connect to, and in the Connection details, you will find all the required information.
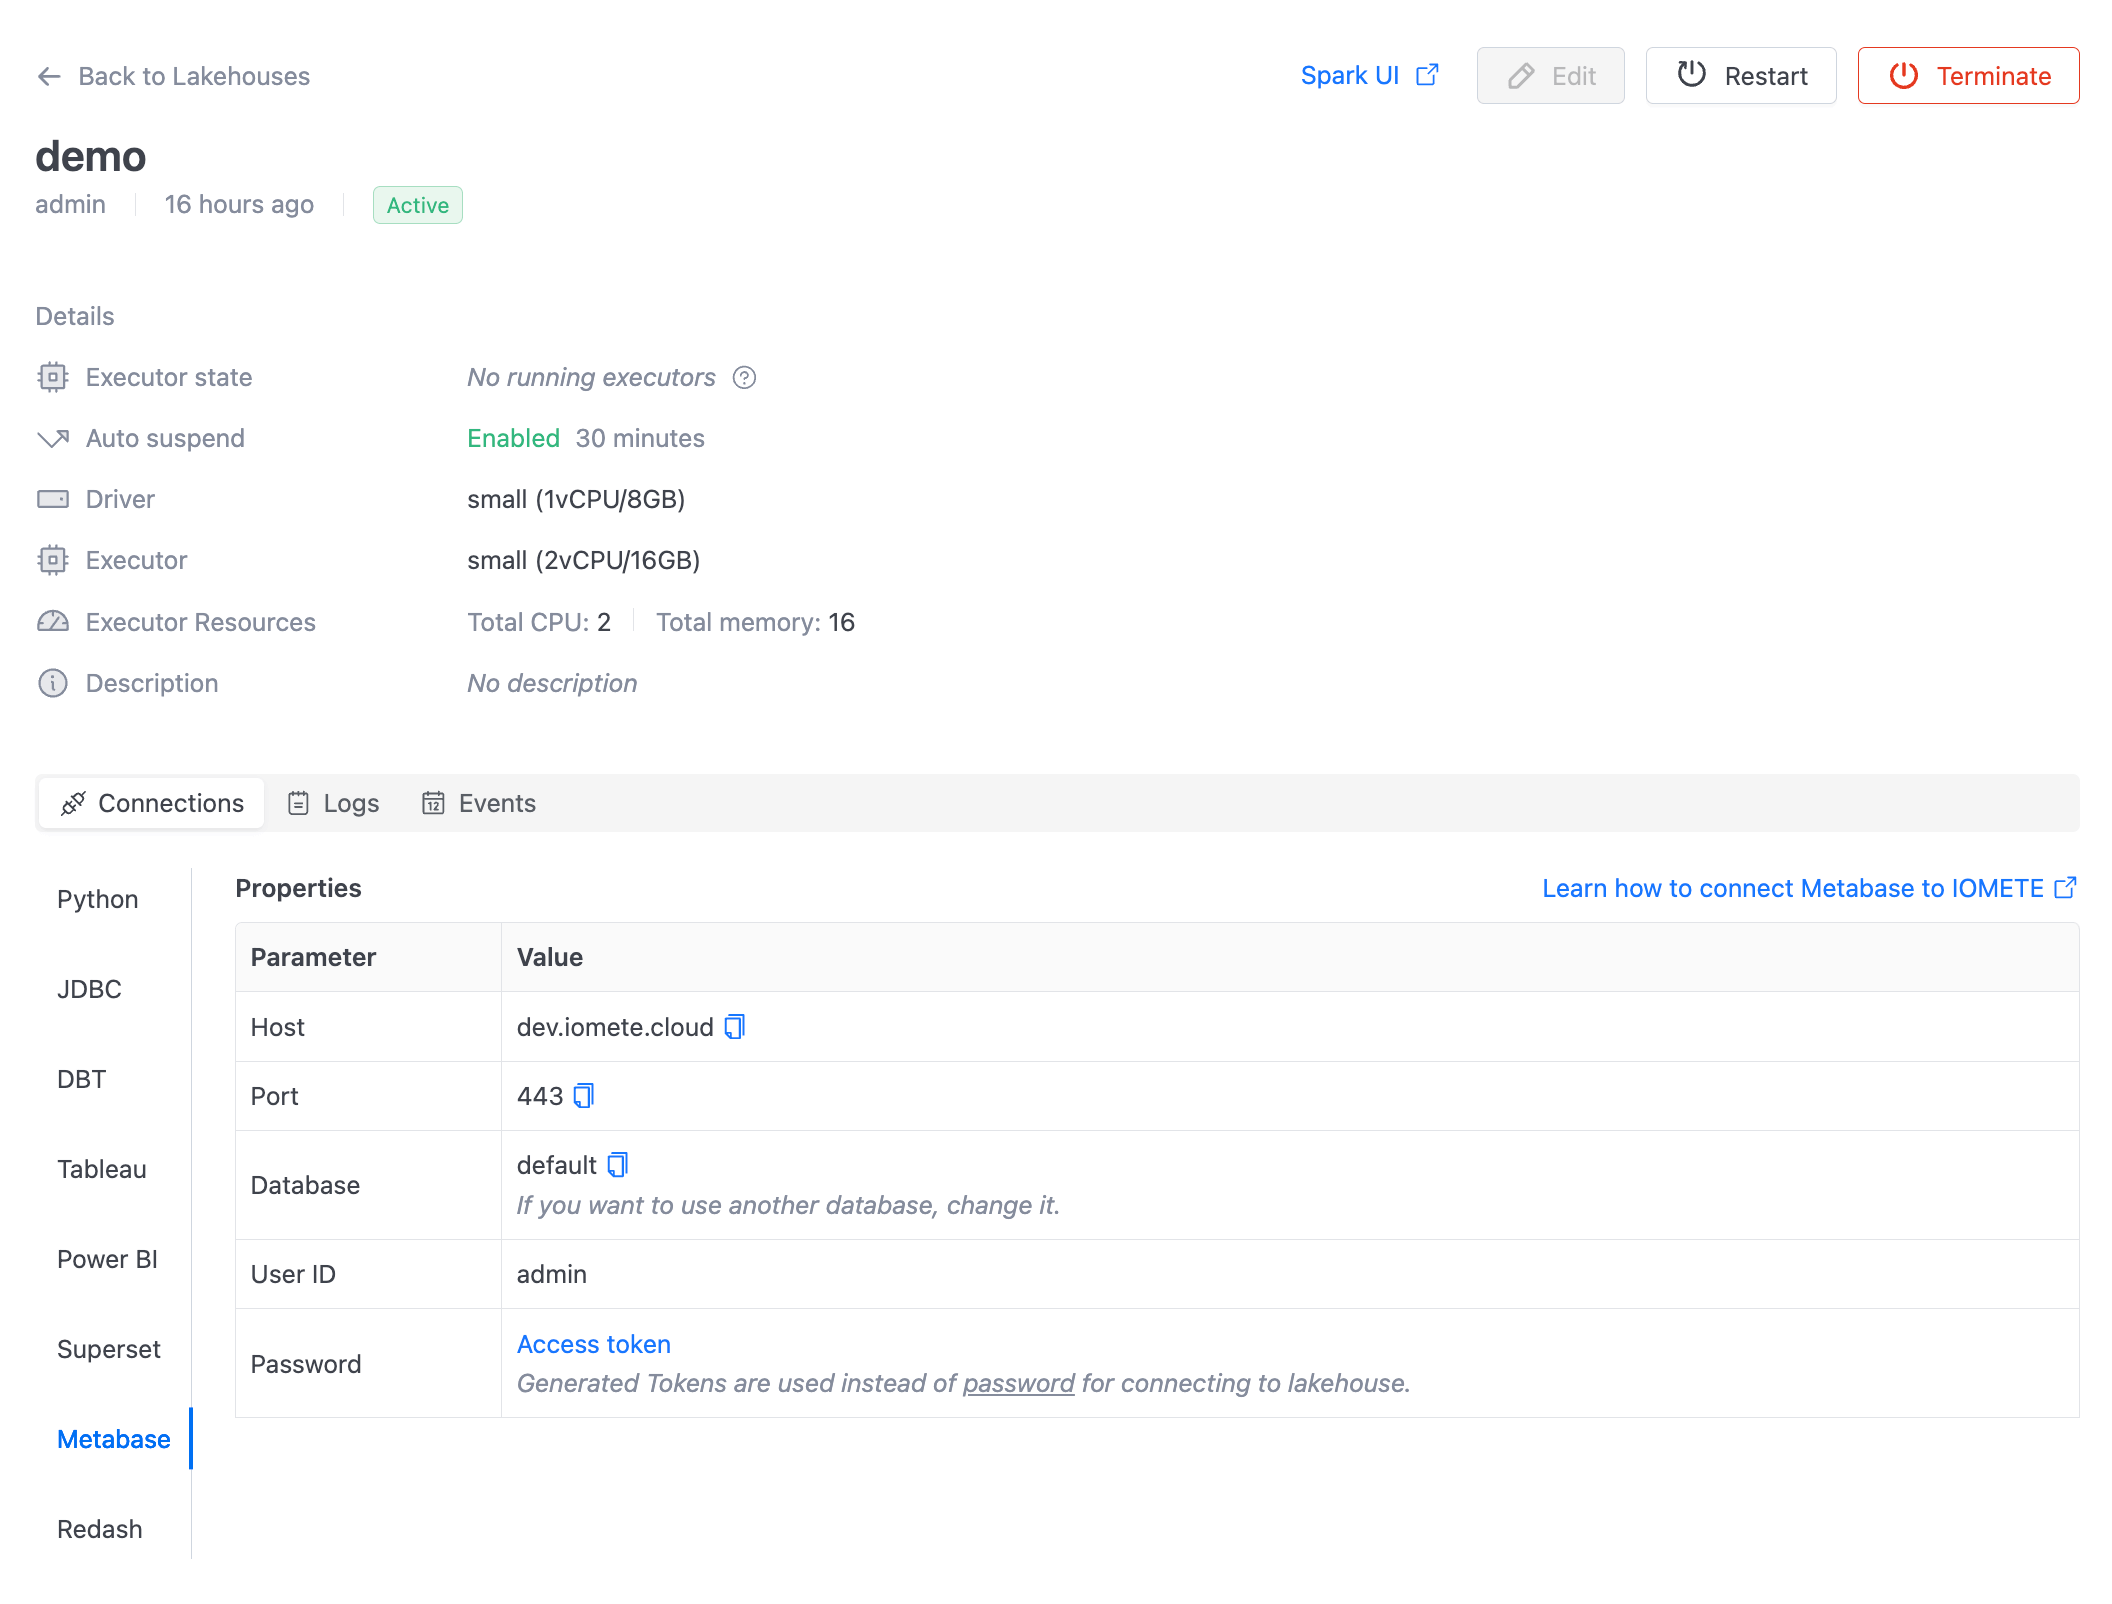
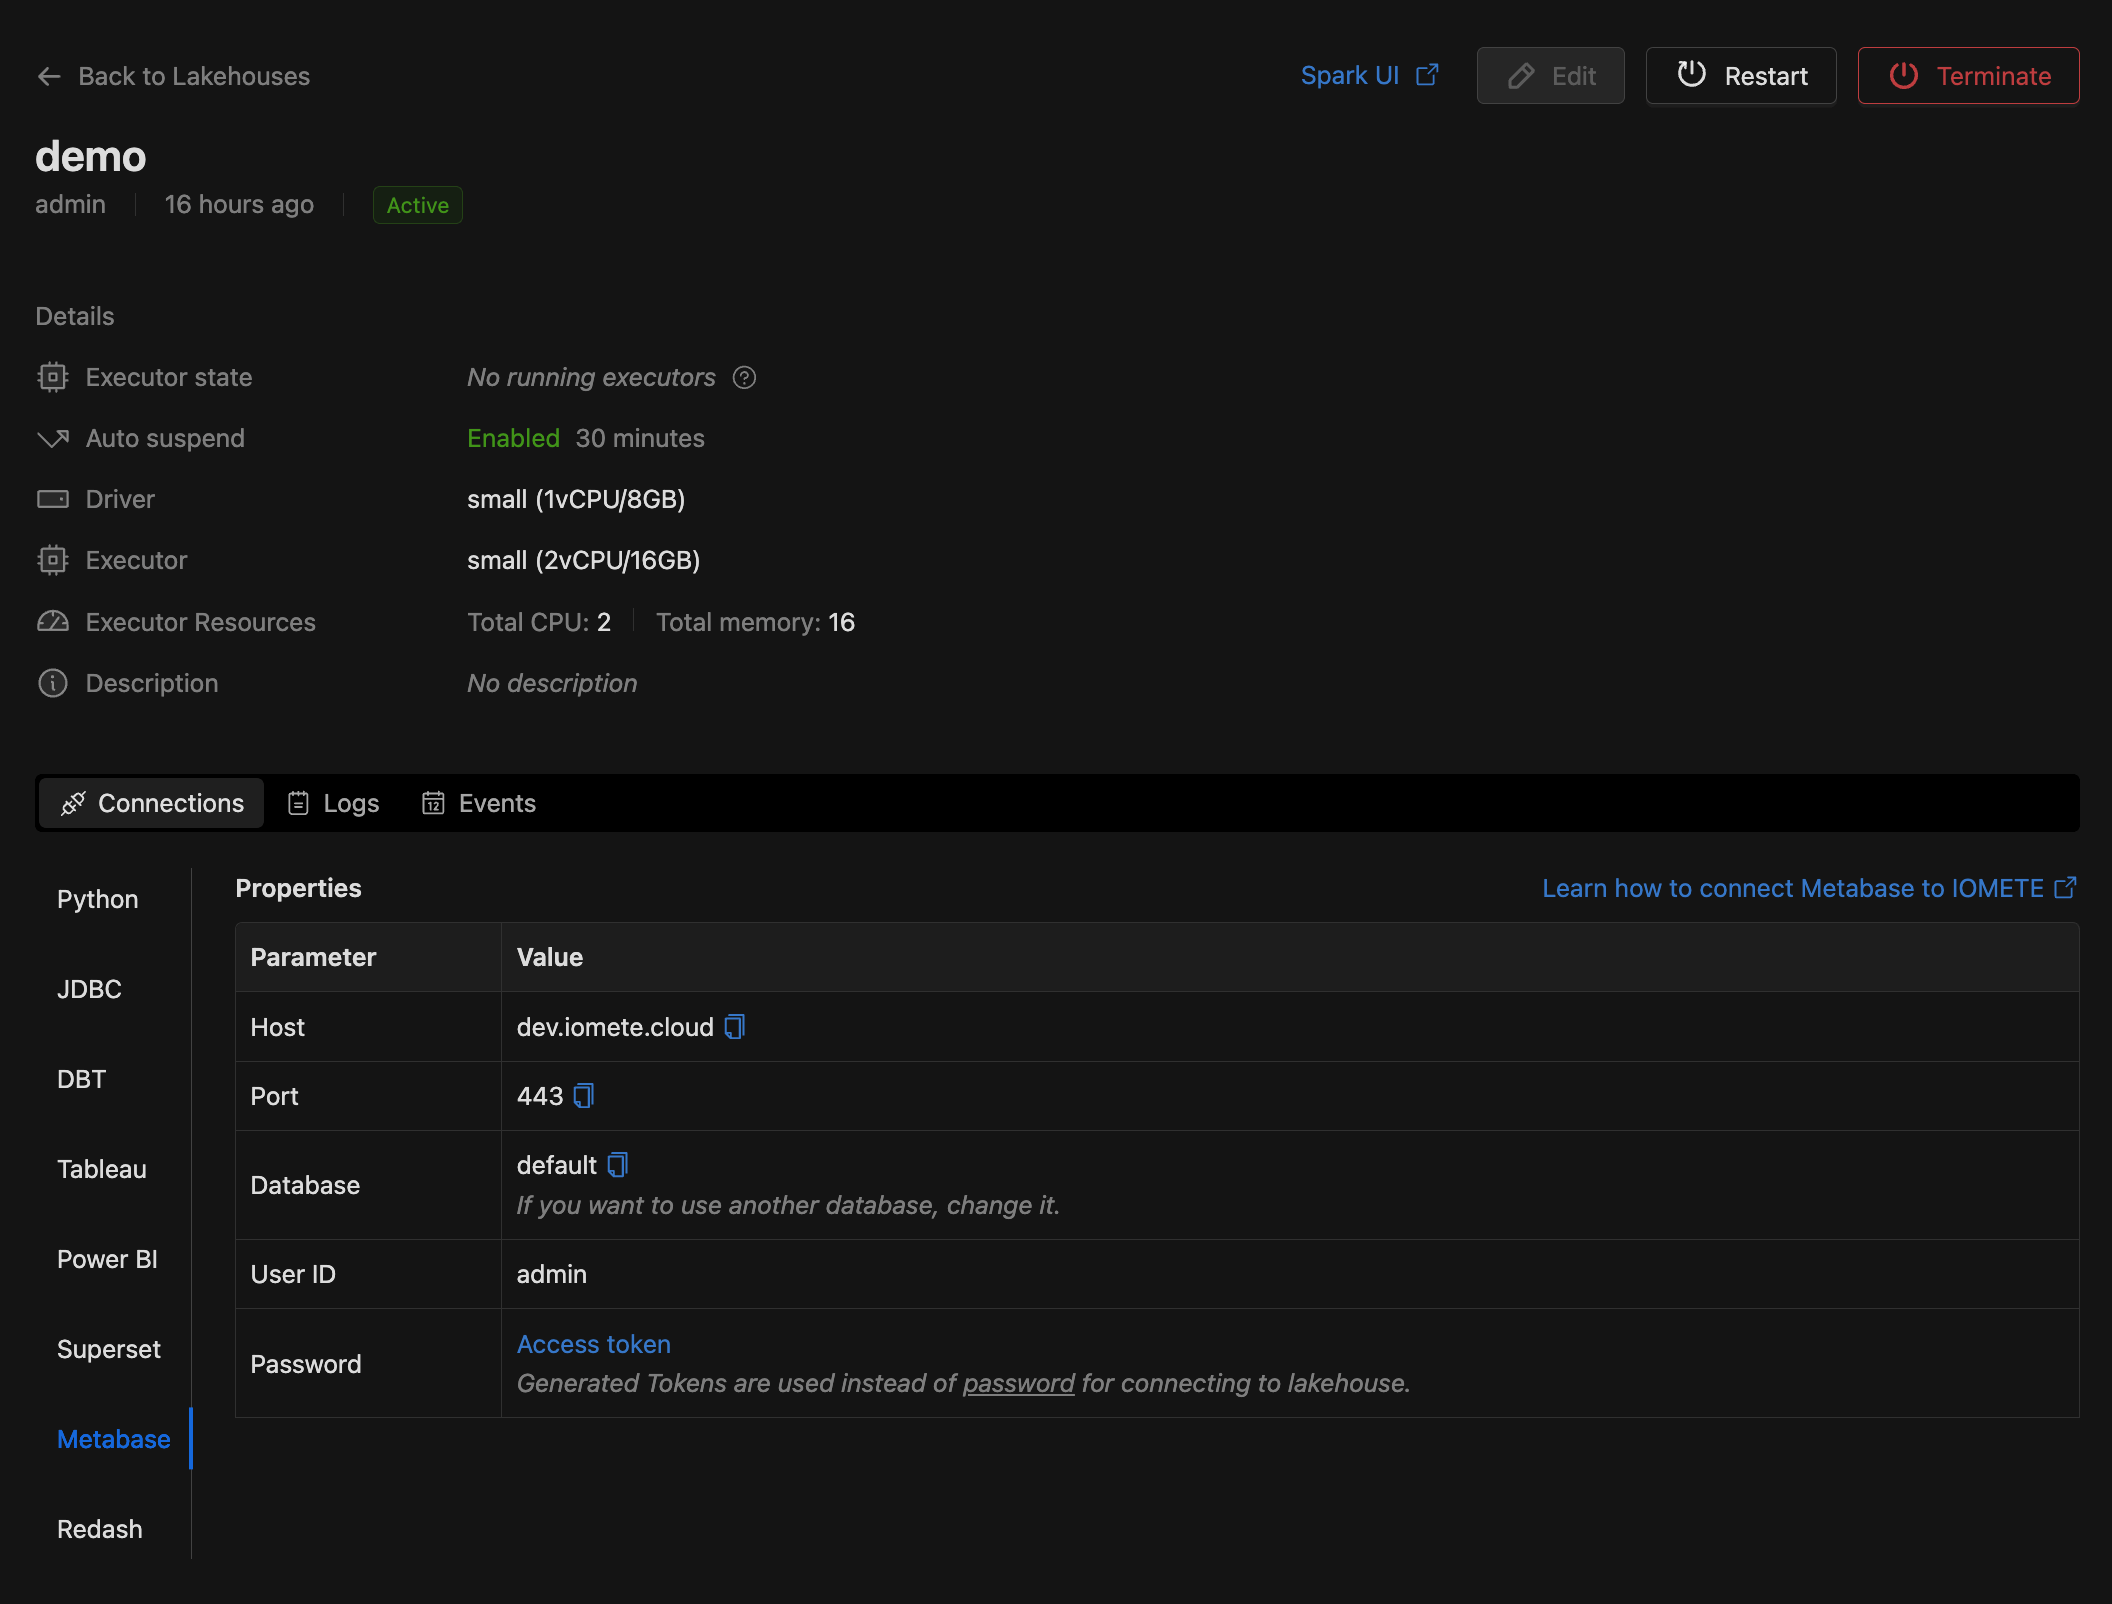
Extract all connection properties from the connection string, referencing the "lakehouse" details sheet in IOMETE:
| Property | Value |
|---|---|
| Host | {domain or IP address} |
| Port | {server port} |
| Database | {database name} |
| Username (User ID) | {your user name} |
| Password | {personal access token} |
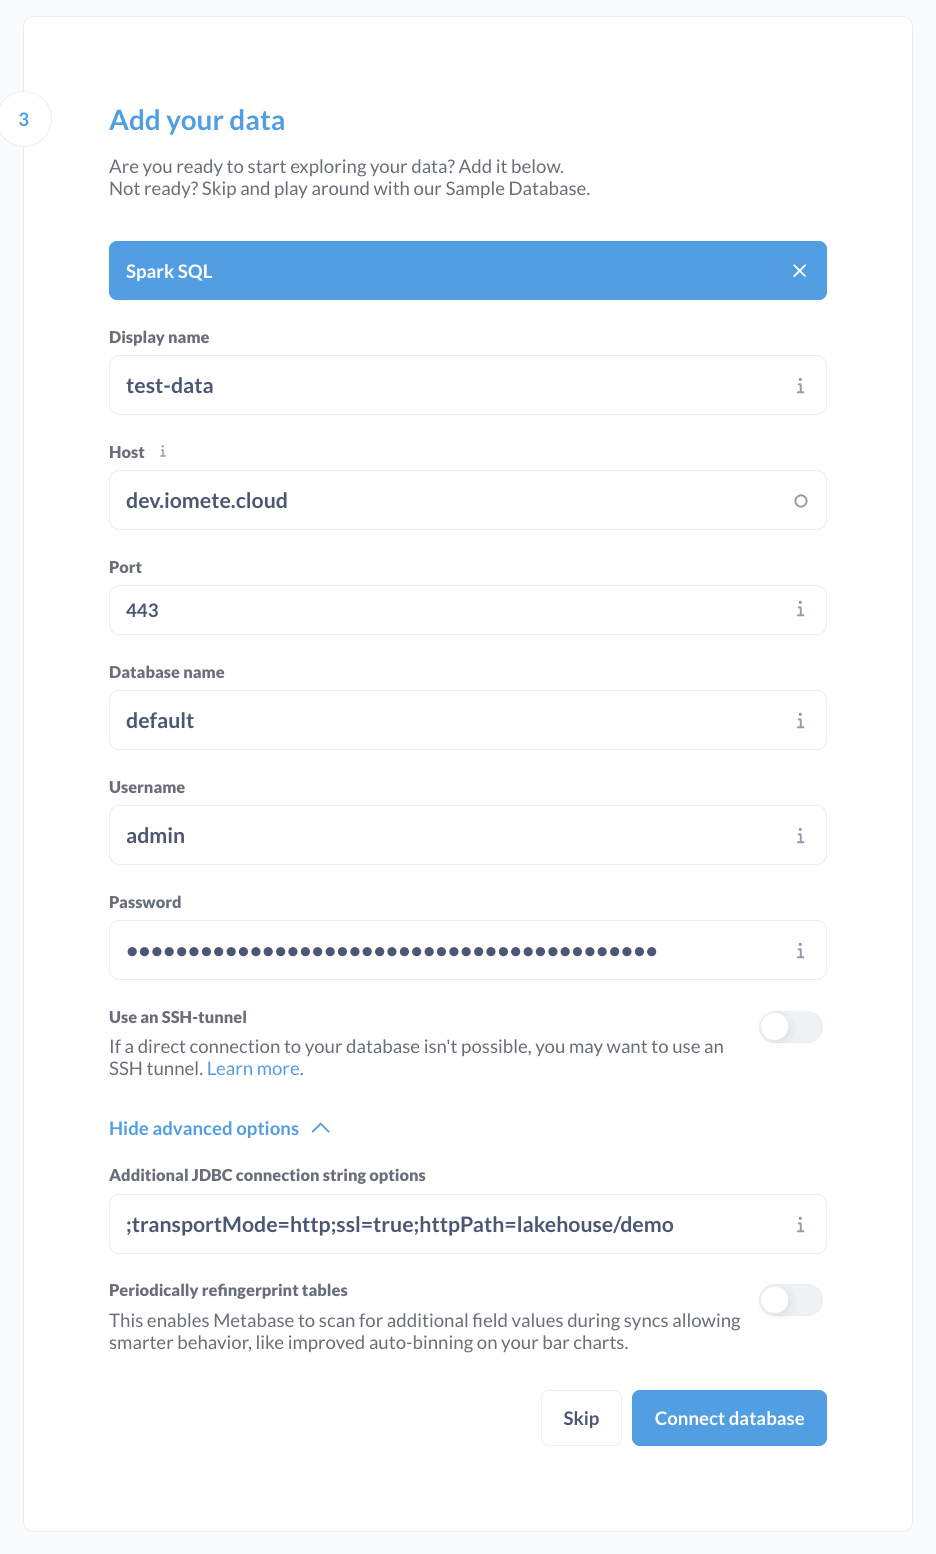

After connecting the iomete database to Metabase, it will require a couple of minutes to sync all the metadata from iomete. You will be able to track progress in the bottom right corner:

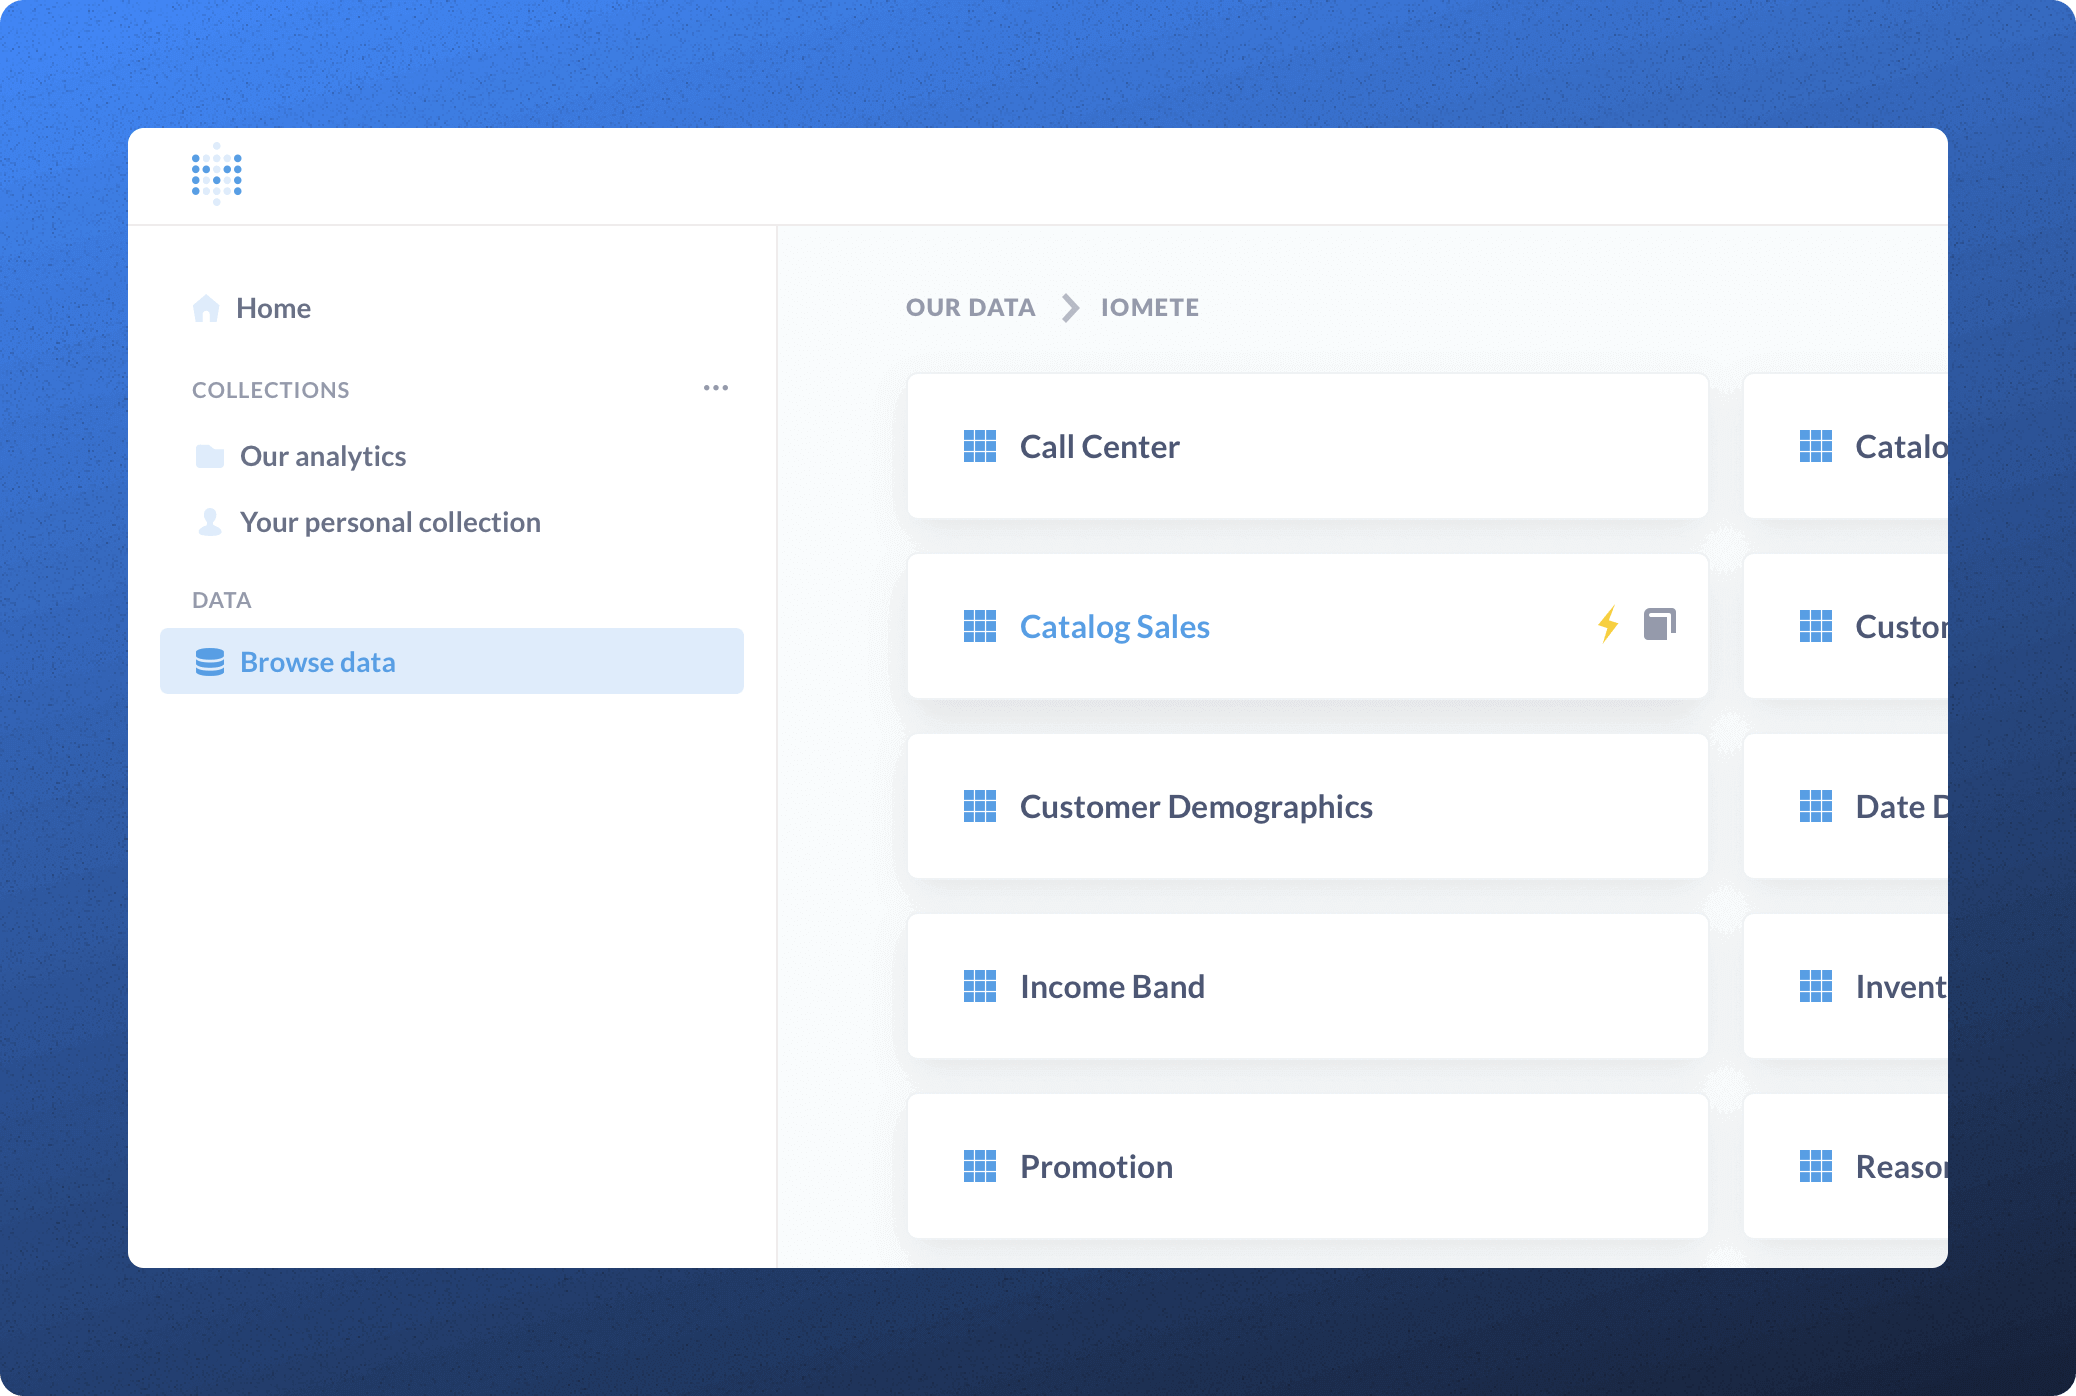
After the synchronization process is completed you will be able to see your tables in the Metabase database explorer:
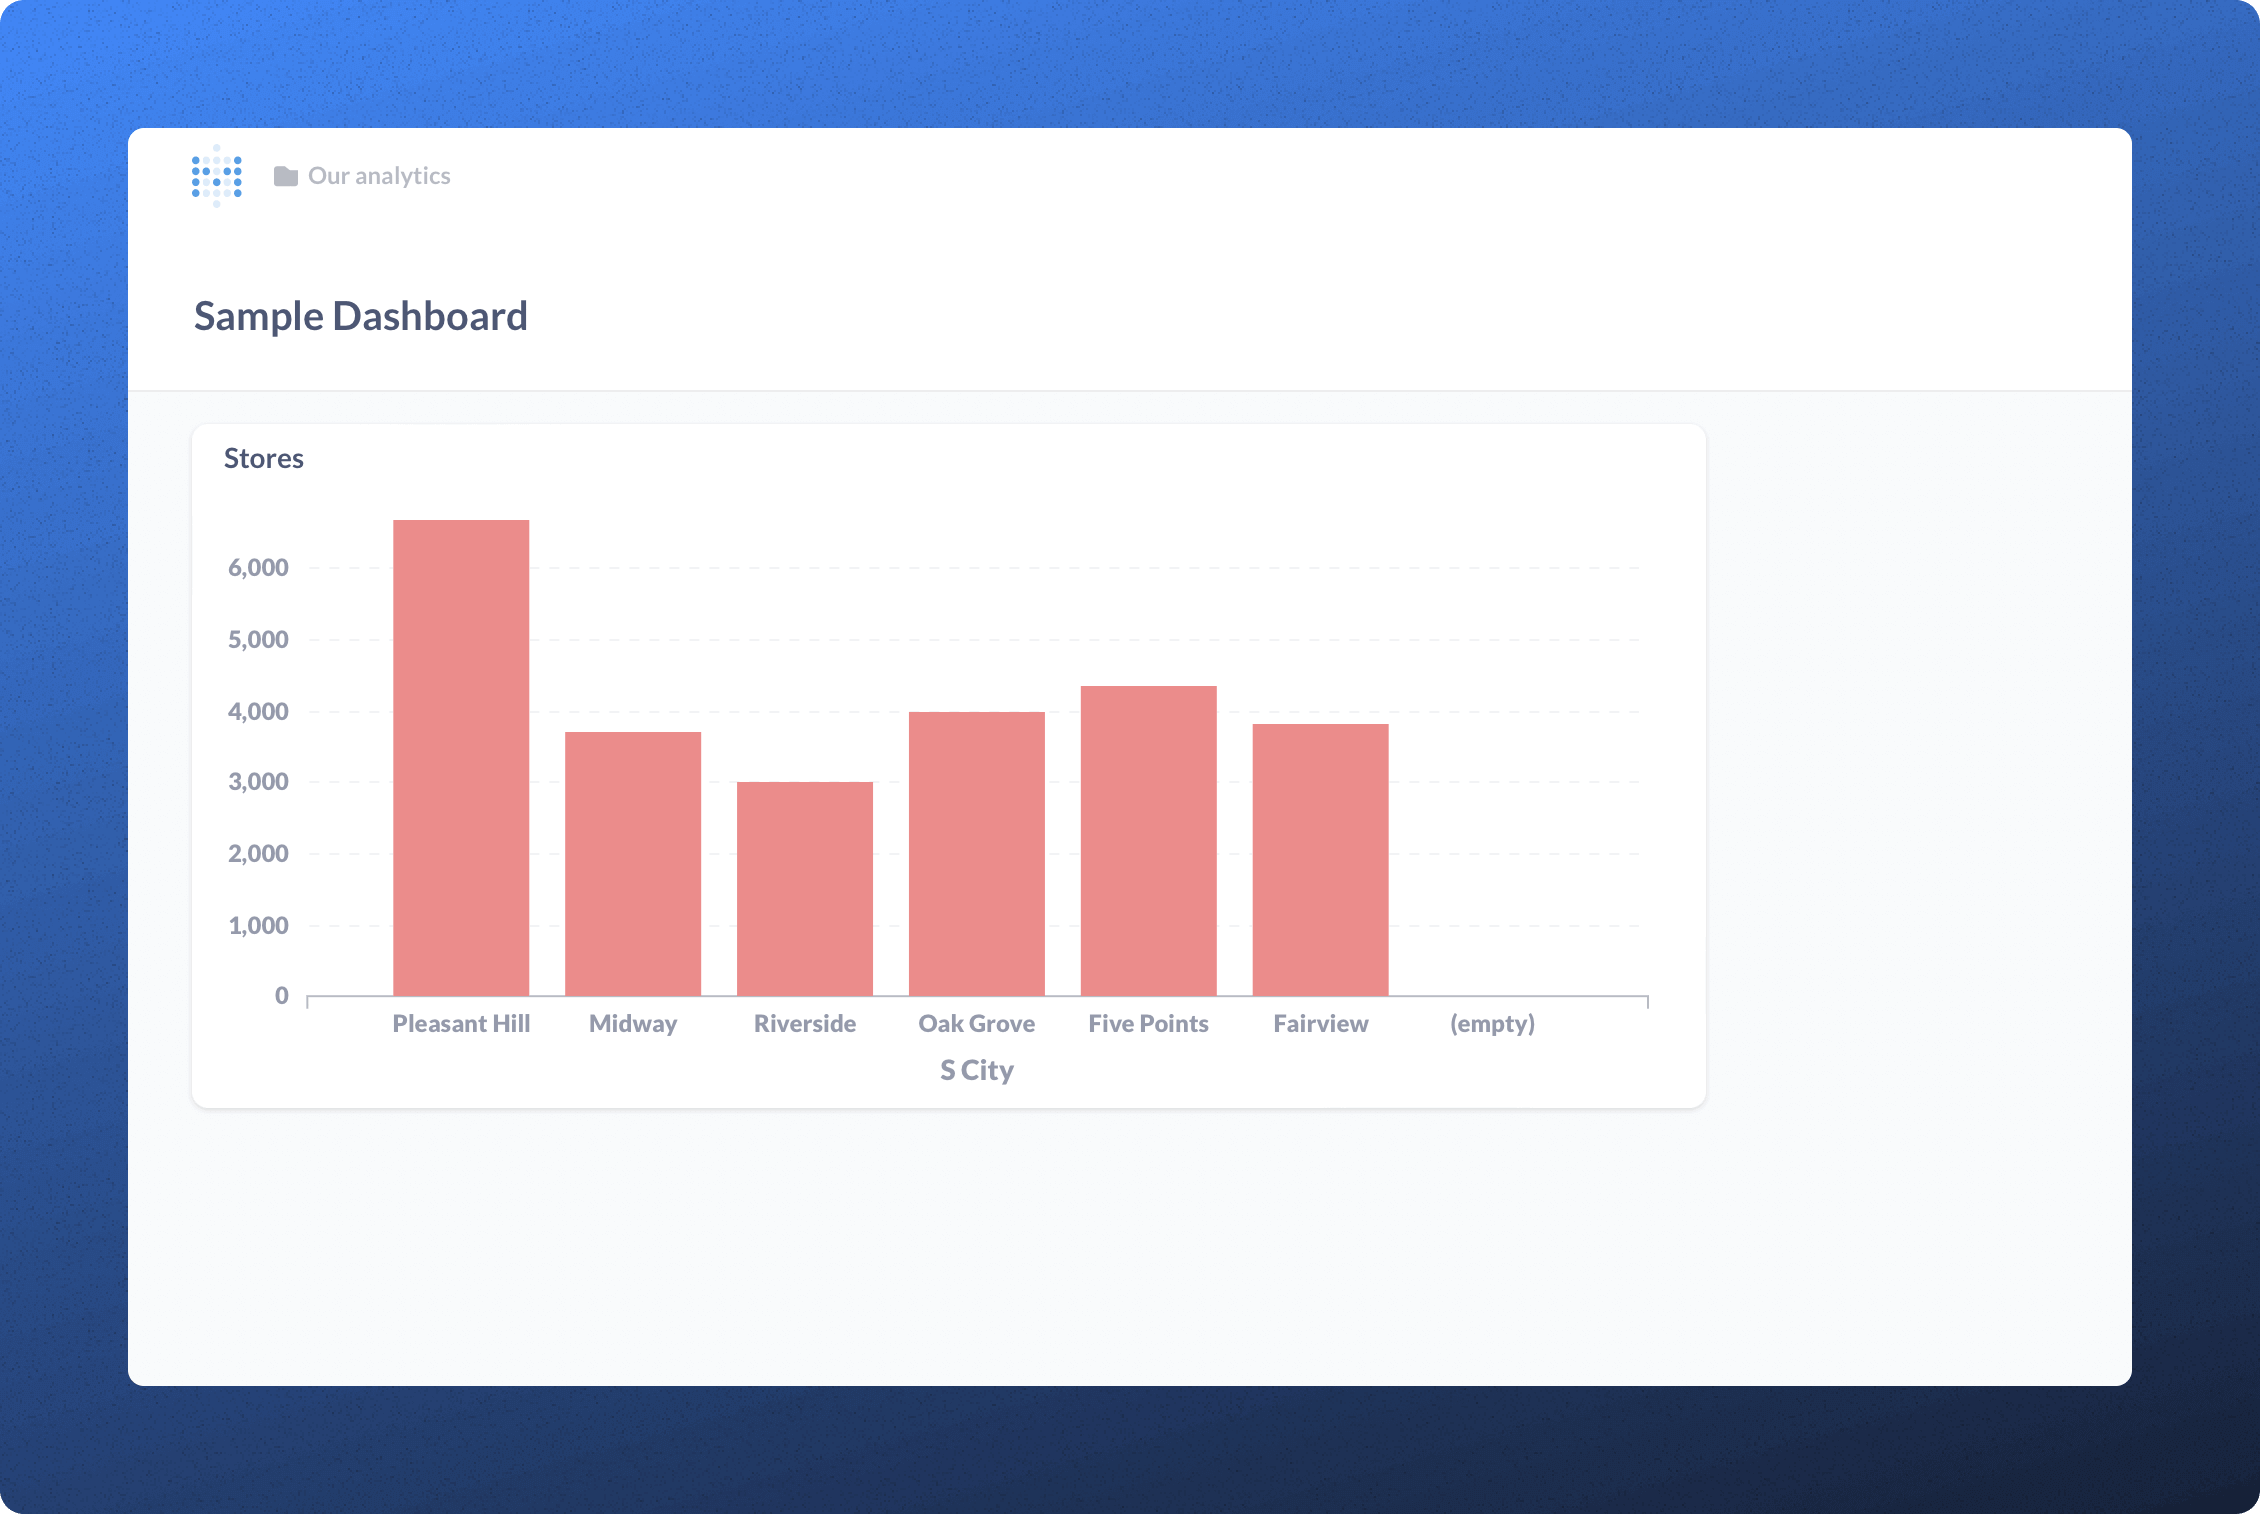
The last step is to create a dashboard. In the example we created a simple bar graph - which probably is useless - but good enough for tutorial purposes 😄:
As we told you, it is effortless. Reach out to us if you have any questions.