Power BI Arrow Flight - IOMETE ODBC Connector
This guide provides step-by-step instructions on how to download, install, and configure the IOMETE ODBC driver using the Arrow Flight protocol for Power BI.
Prerequisites
Before proceeding with the installation, ensure that you have the following:
- Administrator privileges on your Windows machine.
- Power BI Desktop installed.
- Access to the IOMETE GitHub repository to download the connector bundle.
- A valid IOMETE user account with an access token.
Step 1: Download the IOMETE Connector Bundle
- Navigate to the official IOMETE GitHub repository: iomete/iomete-artifacts.
- Download the latest release of the connector bundle:
iomete-odbc-connector.zip. - Extract the downloaded ZIP file.
After extracting, you will find the following files:
IOMETEConnector.mezarrow-odbc-iomete.zip
Step 2: Install the Arrow ODBC Driver
-
Extract
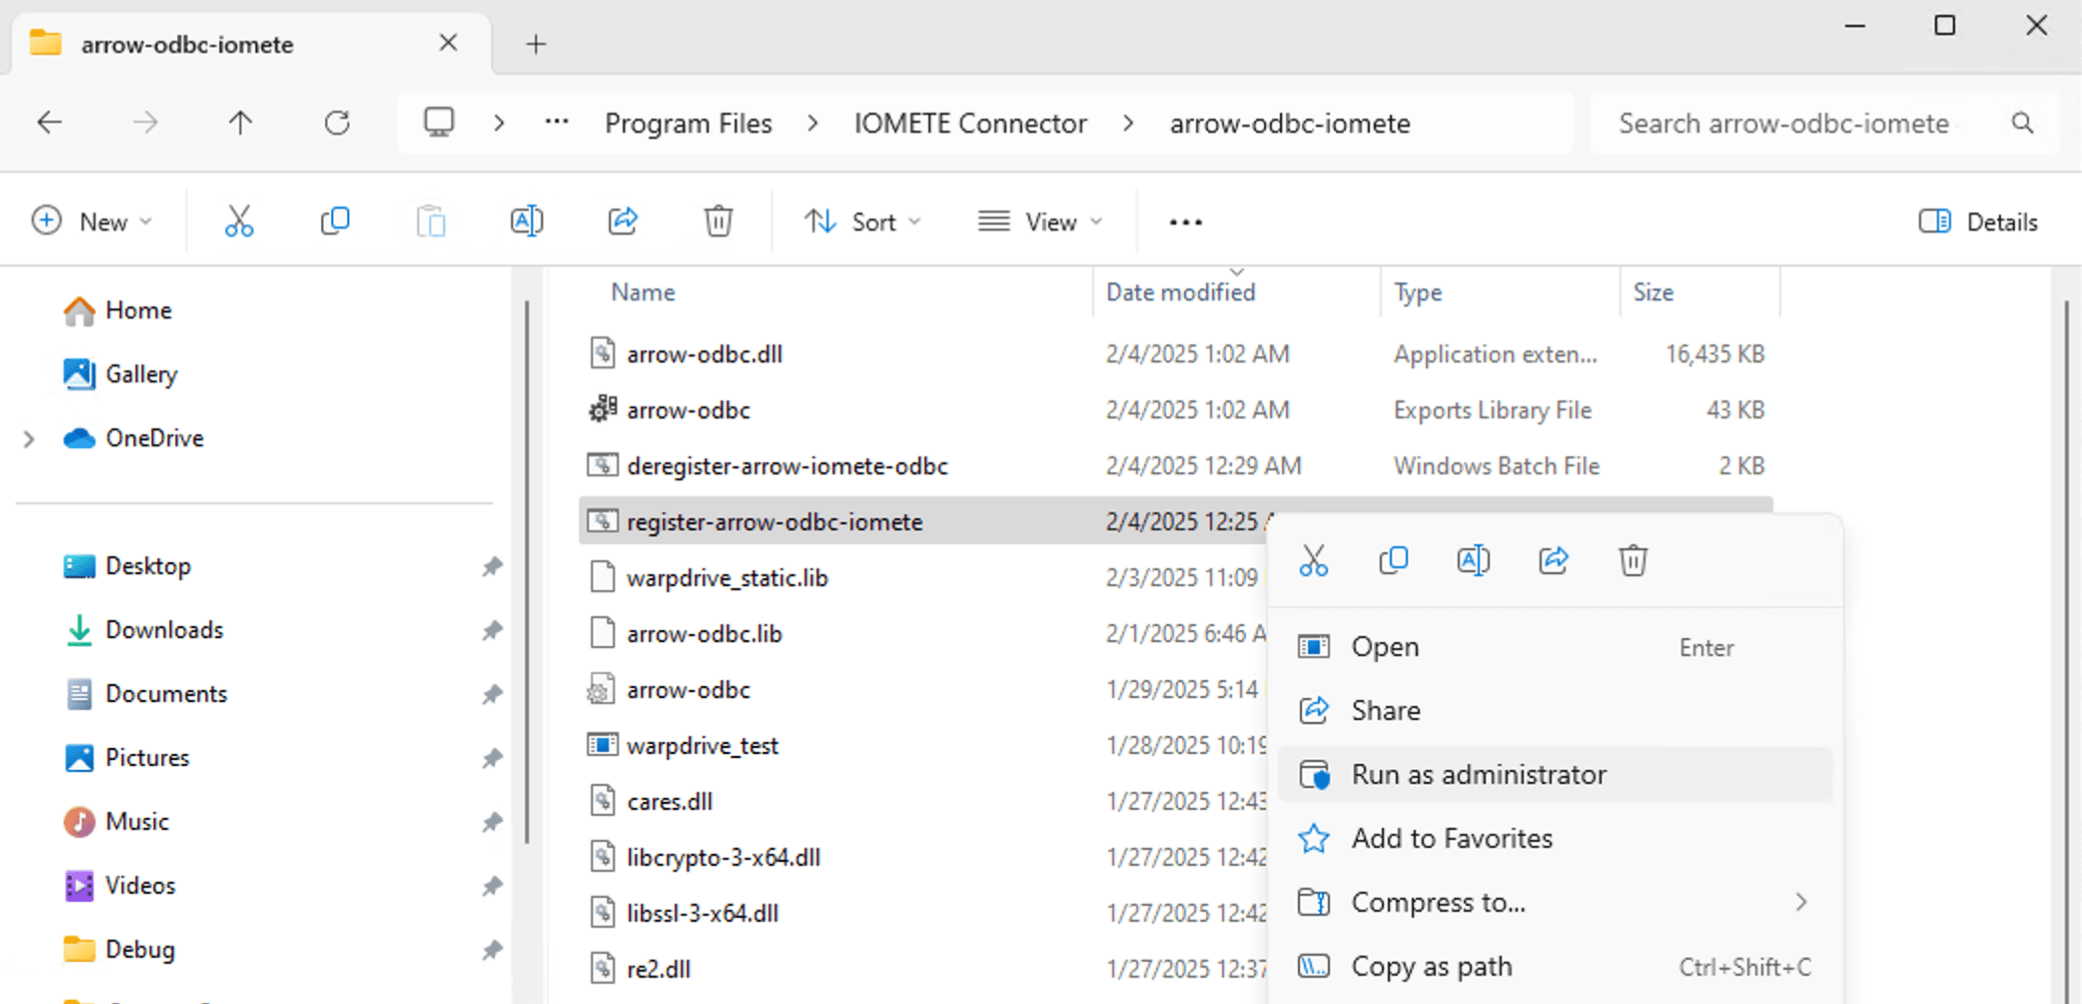
arrow-odbc-iomete.zipto the following location:C:\Program Files\IOMETE Connector -
Run as Administrator file the following file
register-arrow-odbc-iometein the extracted folder:C:\Program Files\IOMETE Connector\arrow-odbc-iometeThis step ensures that the Arrow ODBC driver is properly registered on your system.
Step 3: Install the Power BI Custom Connector
- Copy
IOMETEConnector.mezto the following directory:(ReplaceC:\Users\<YourUser>\Documents\Power BI Desktop\Custom Connectors<YourUser>with your actual Windows username.) - If you are using SSL certificates, place the certificate file (
custom.certor.pem) in the same folder as the.mezfile:C:\Users\<YourUser>\Documents\Power BI Desktop\Custom Connectors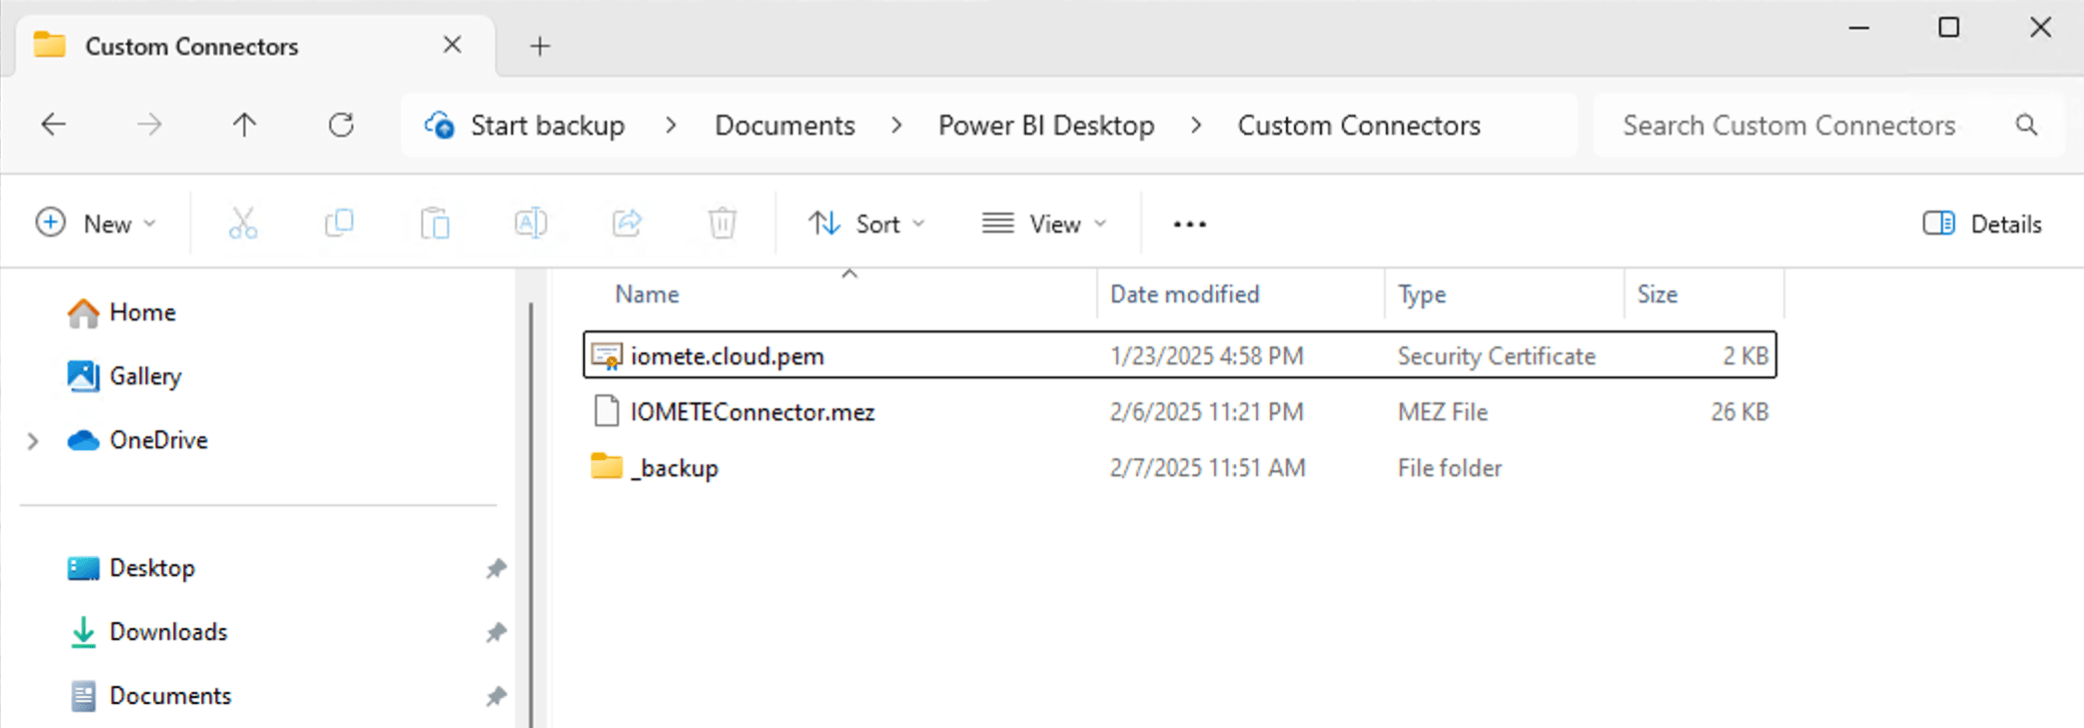
Step 4: Connect to IOMETE Data Source
- Open Power BI Desktop.
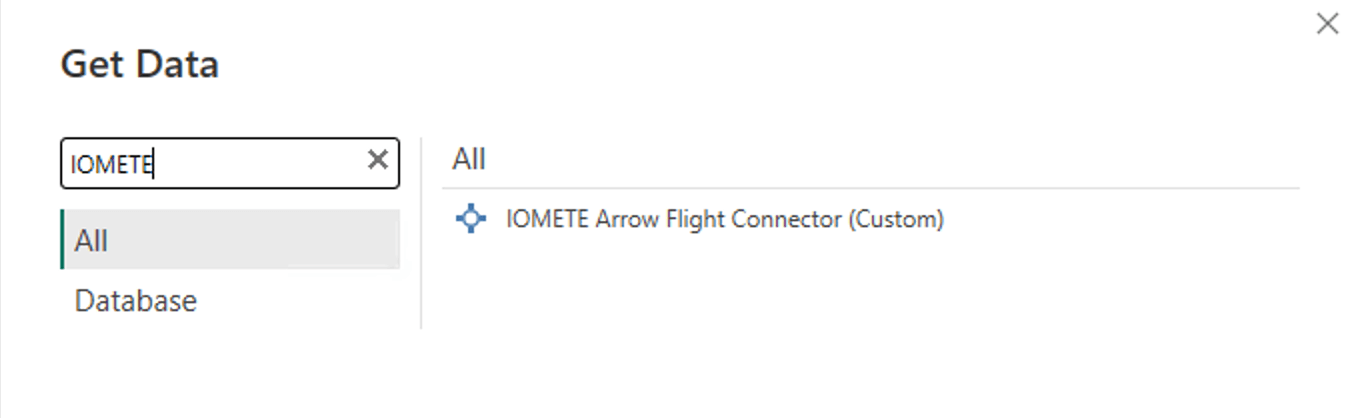
- Click Get Data → More....
- Search for IOMETE Arrow Flight Connector and select it.
- Click Connect.
Step 5: Configure Connection Settings
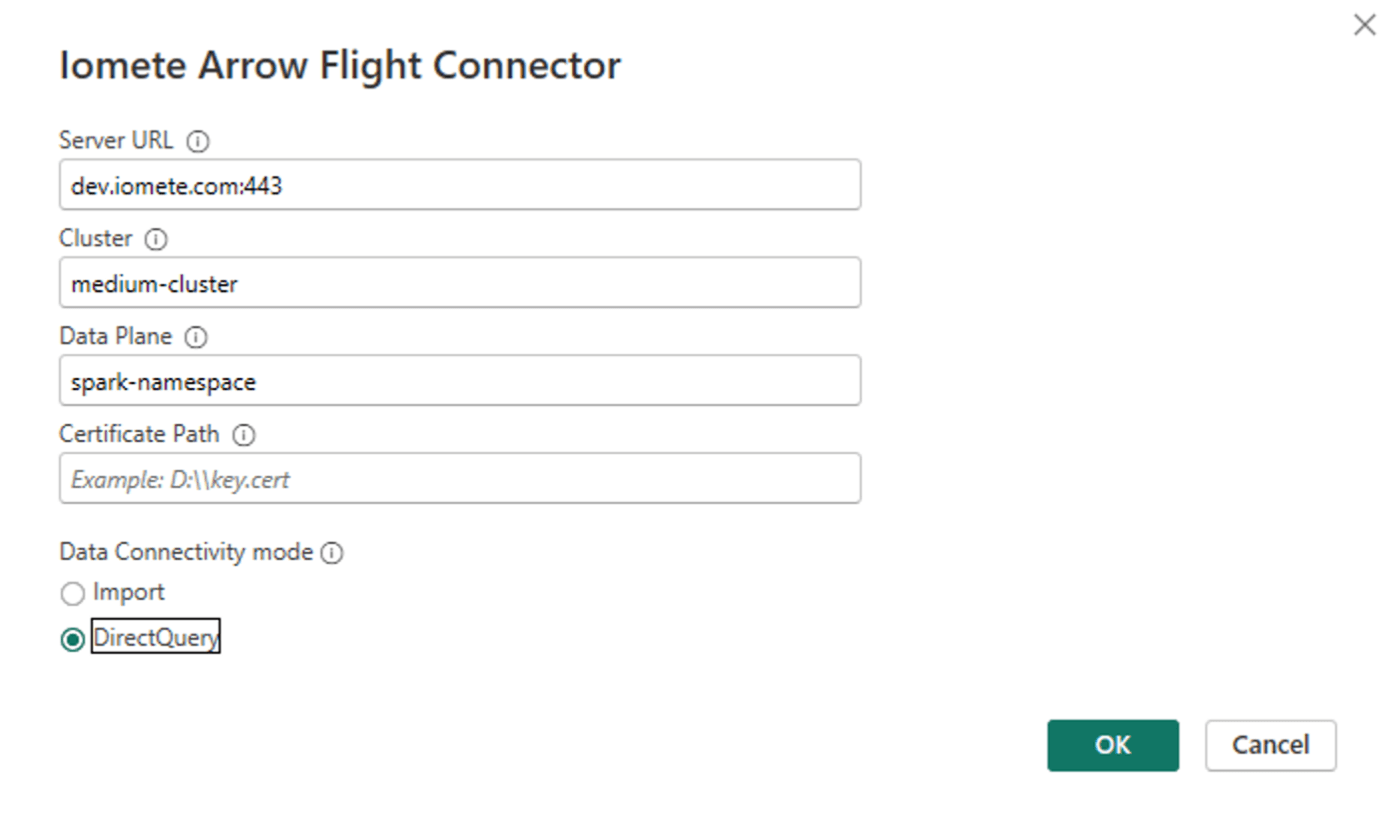
In the connection dialog, provide the following details:
- Server URL: Example:
dev.iomete.com:443 - Compute Cluster Name: Example:
medium-cluster - Data Plane (Kubernetes namespace where compute is deployed): Example:
spark-resources - Certificate Path: Path to the SSL certificate if used (same directory as
.mezfile) - Data Connectivity Mode: Choose Direct Query for real-time data access
Step 6: Authenticate
- Enter your IOMETE username and access token.
- Click Sign In.
Step 7: Start Building Dashboards
Once connected successfully, you can start creating dashboards using IOMETE data. Use Power BI's features to visualize and analyze your data in real-time.
Troubleshooting
Issue: Power BI does not recognize the connector
- Open Power BI Desktop.
- Navigate to File → Options and Settings → Options.
- Under Security, locate Data Extensions.
- Select (Not Recommended) Allow any extension to load without validation or warning.
- Click OK and restart Power BI Desktop.
Conclusion
You have now successfully installed and configured the IOMETE ODBC driver and connected it to Power BI. You can begin creating insightful dashboards with your data. If you encounter any issues, please reach out to the IOMETE support team or refer to the troubleshooting section above.
Happy Data Analytics with IOMETE!